![MOMS Email Signature-2.png]](https://knowledge.myonemedicalsource.com/hs-fs/hubfs/MOMS%20Email%20Signature-2.png?height=50&name=MOMS%20Email%20Signature-2.png)
1. Login to the MAP portal
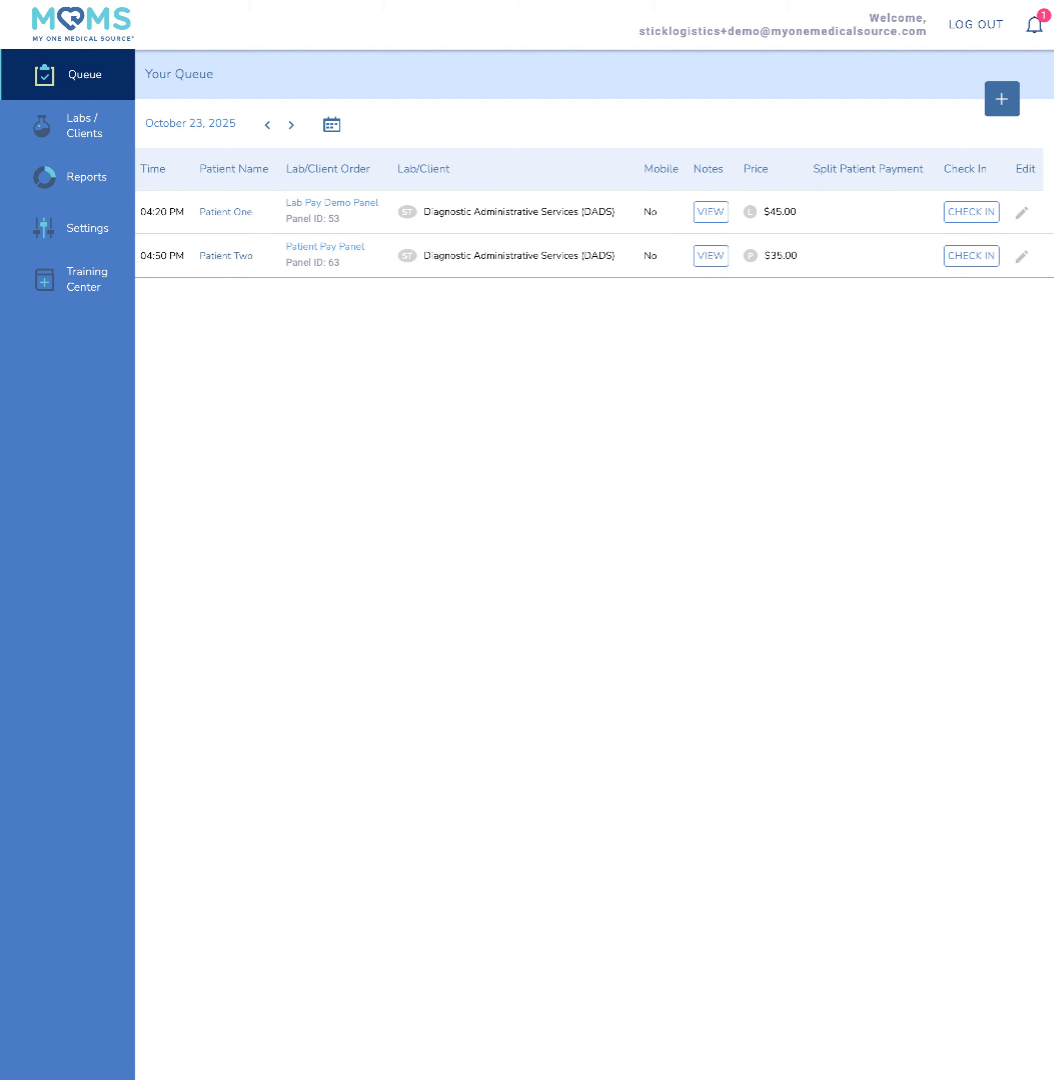
The patient queue will show you all scheduled and completed appointments at your map. This is also where you can add a patient to your queue should they walk in without an appointment. The queue defaults to the current day, but you can change the day by clicking the arrows or selecting a new date via the calendar button.
2. Open Panel
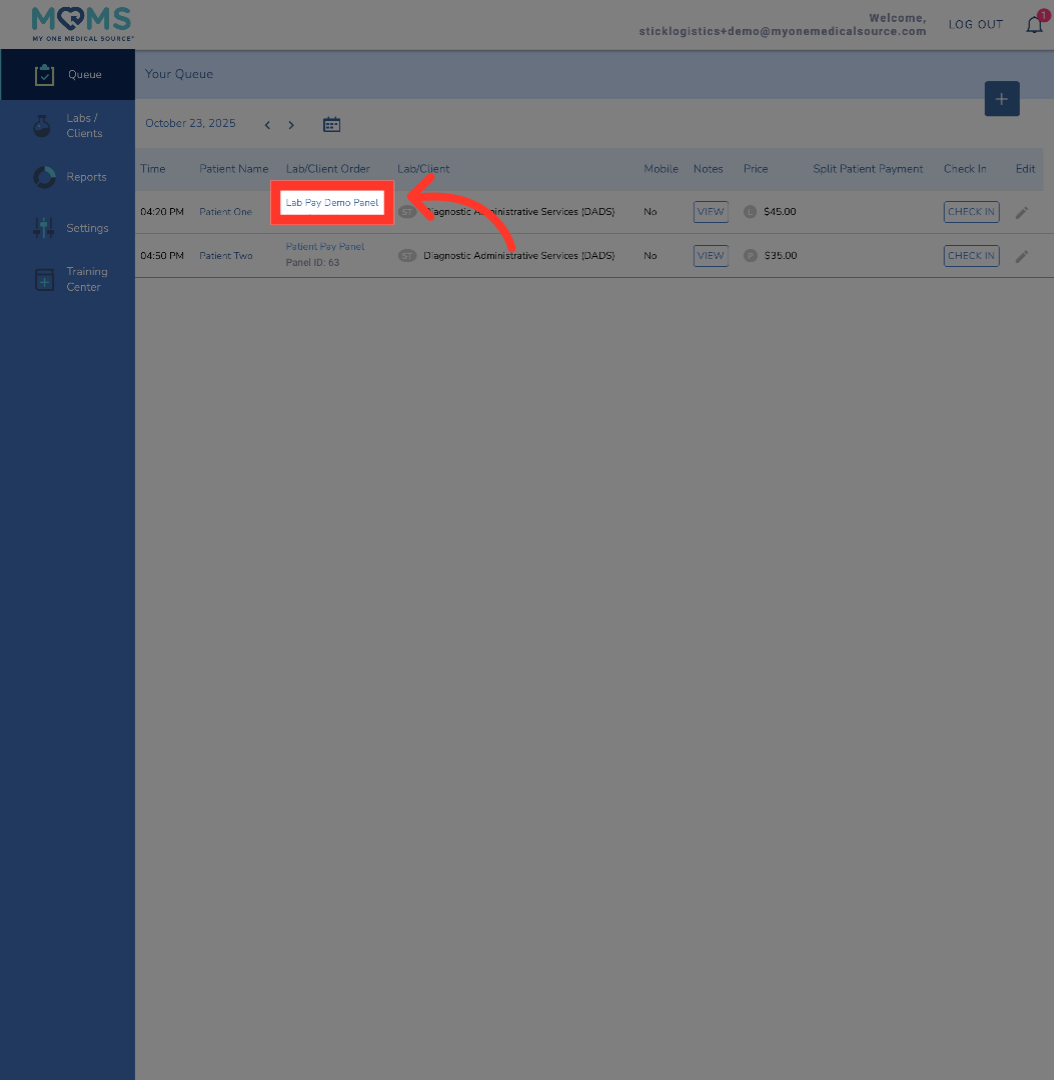
To view the specific draw instructions for a scheduled appointment, click the Lab/Client order. For example, the "Lab Pay Demo Panel."
3. Return To Patient Queue
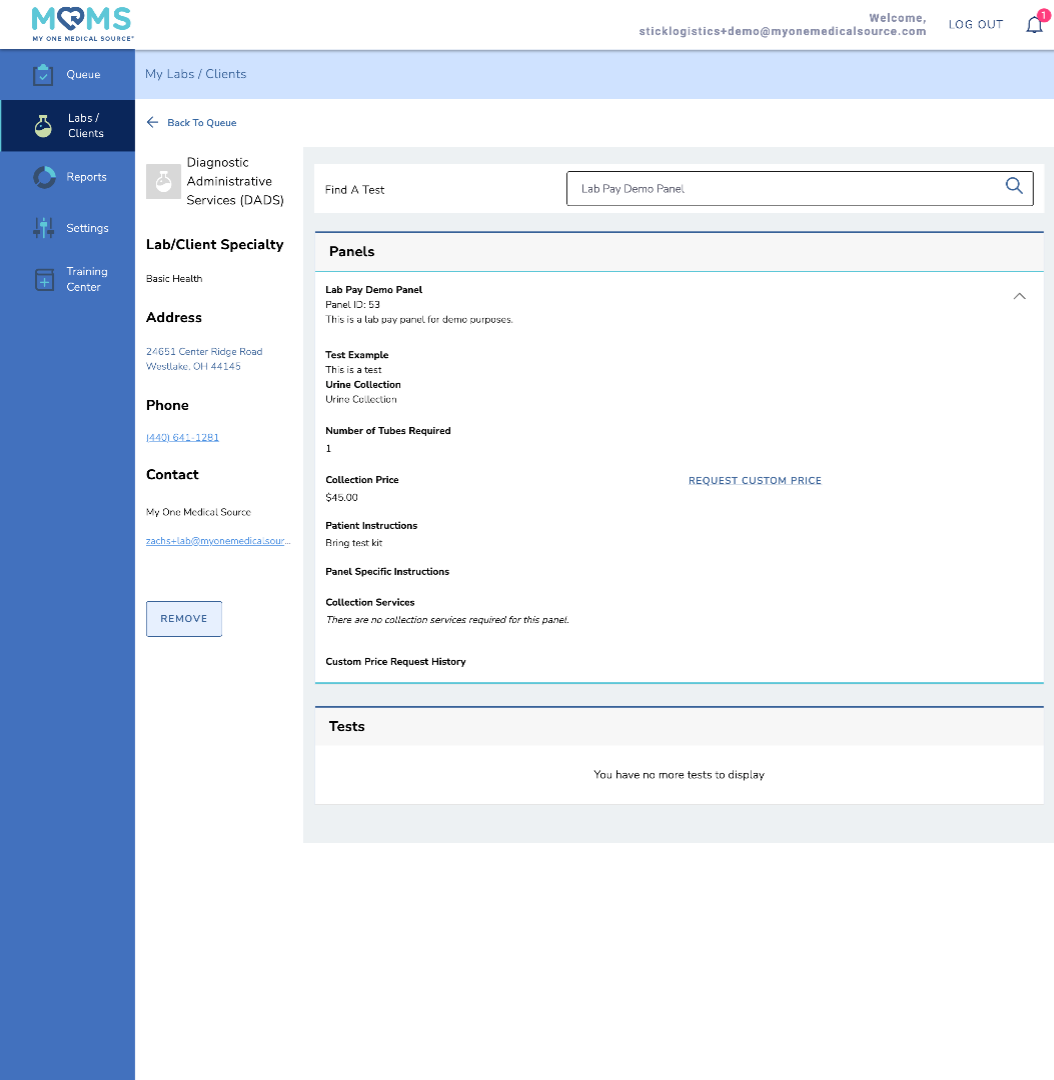
Here, you are able to see the requirements for a successful collection, as input by the lab. As a reminder, this information is always available to you via the MOMS portal by clicking the specific lab.
4. Check In Patient
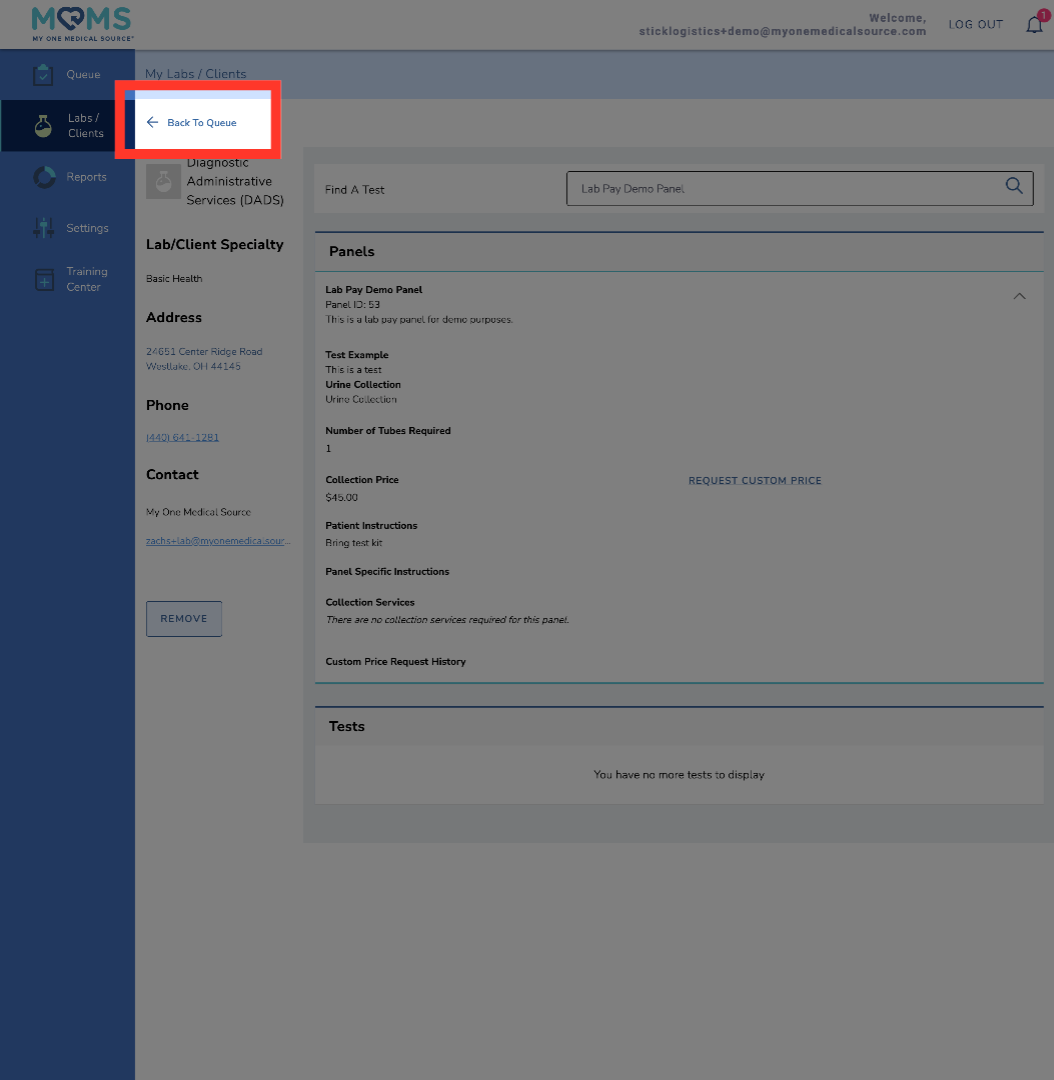
Once you review the collection requirements, click "Back to Queue" to check the patient in for the collection.
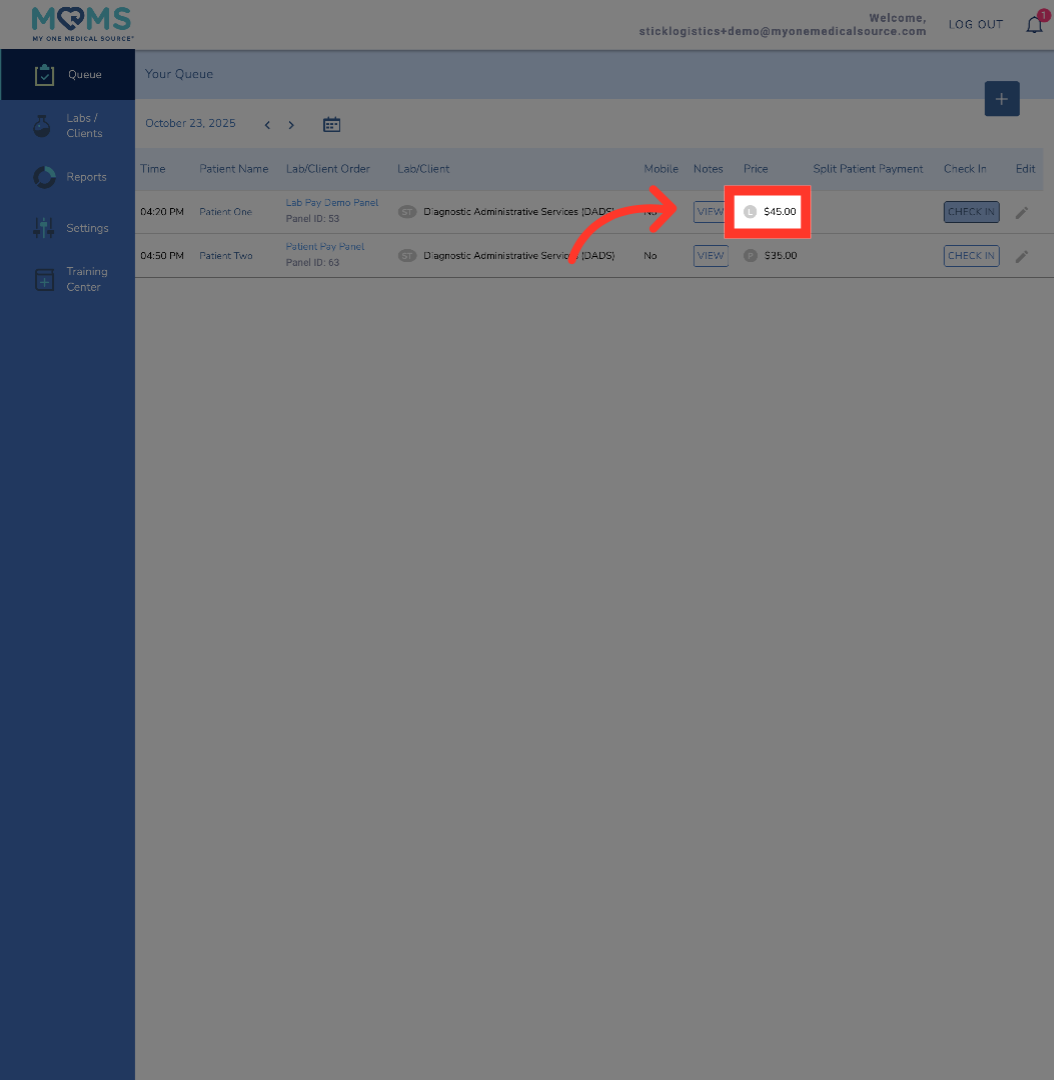
5. Lab Pay Panel
Collections are either paid for by the Lab or the Patient. You can tell which party is responsible for the payment next to the price information. If a Lab is paying for the draw, there will be the letter ell next to the fee designating Lab pay.
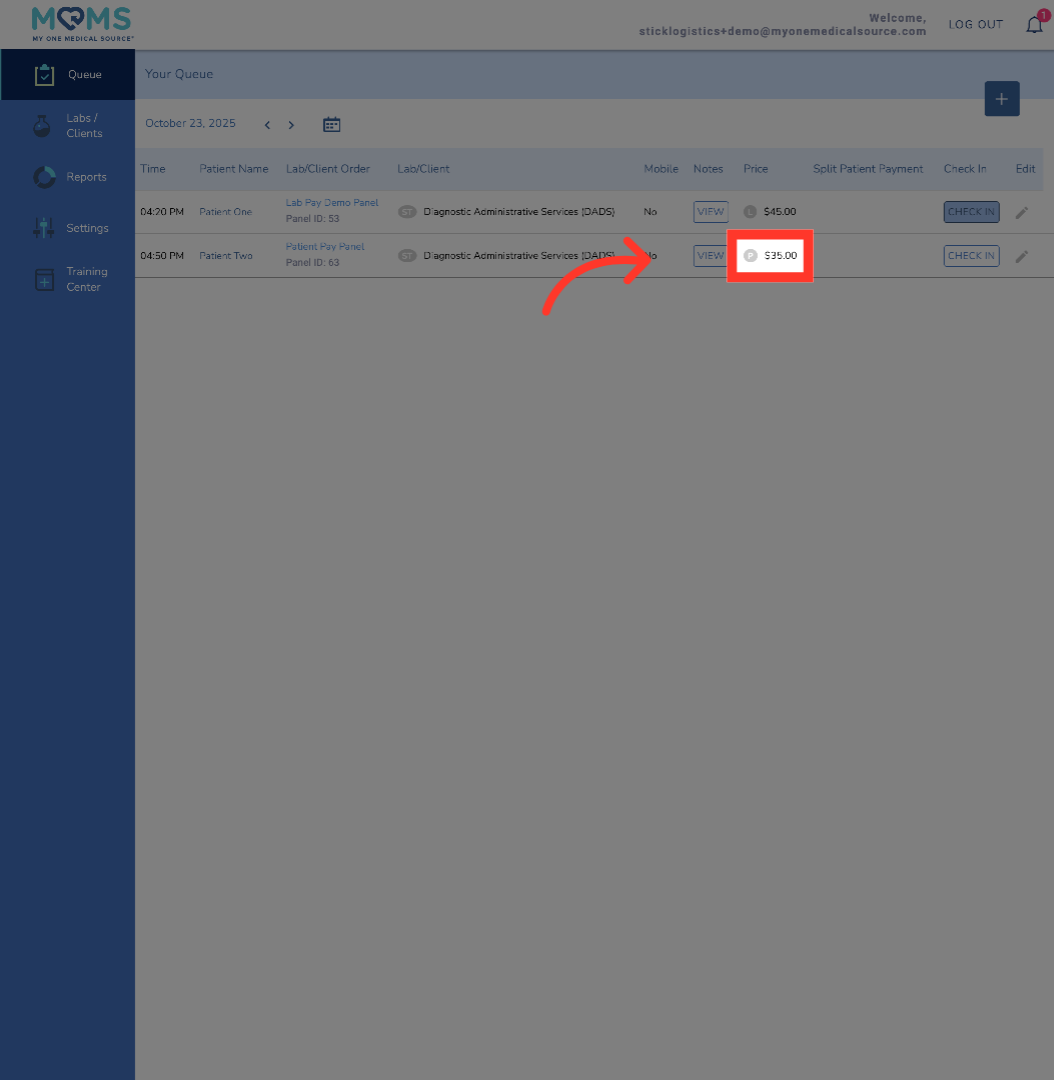
6. Patient Pay Panel
Alternatively, if a patient is paying for the draw, there is a "P" next to the price, designating this is a patient pay collection.
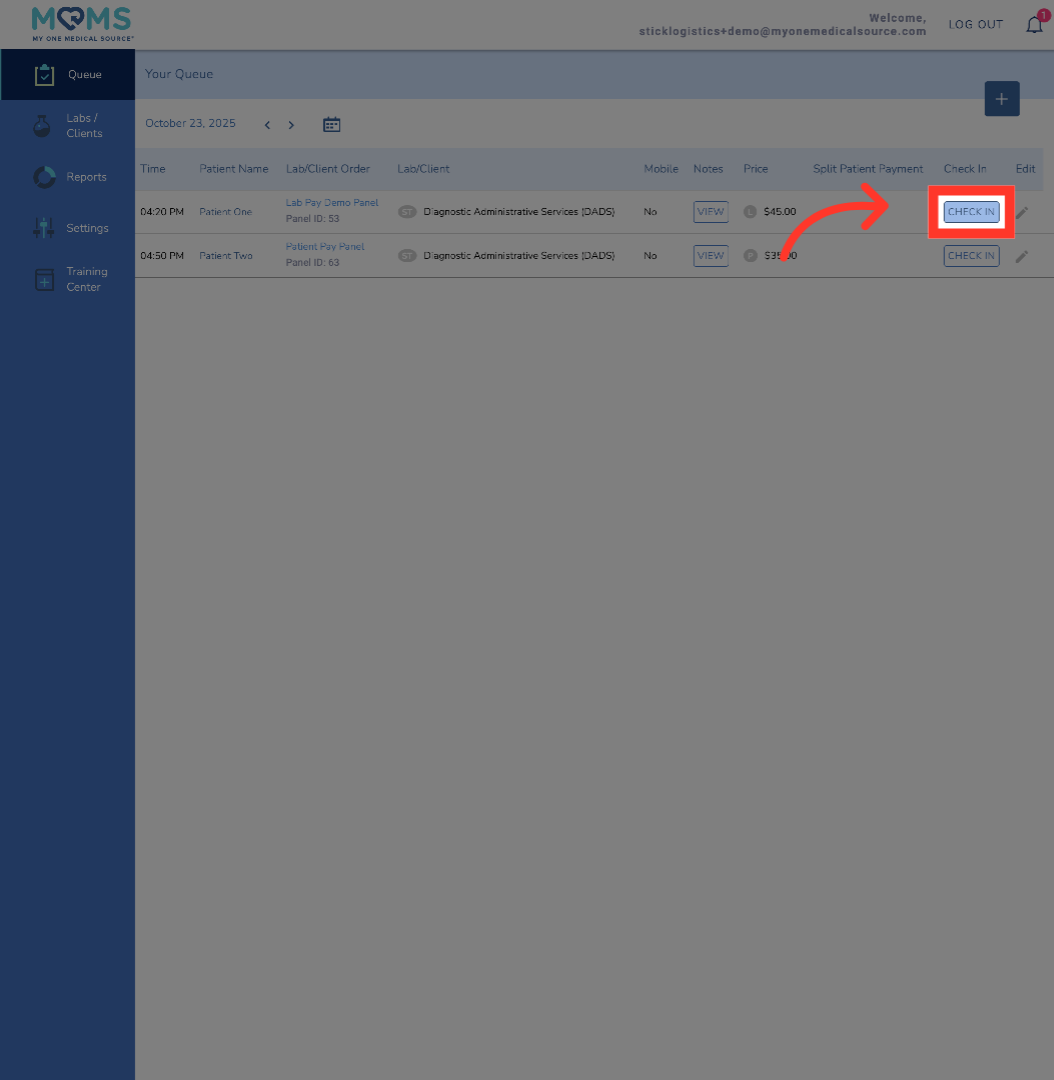
7. Initiate Patient Check-In
When the patient arrives for their scheduled appointment, click Check-In to begin the process.
8. Finalize Patient Check-In
This information is pre-populated and is entered by the patient when scheduling the appointment. Should you need to contact the patient to reschedule, it can be done from this step. Their contact information is provided here.
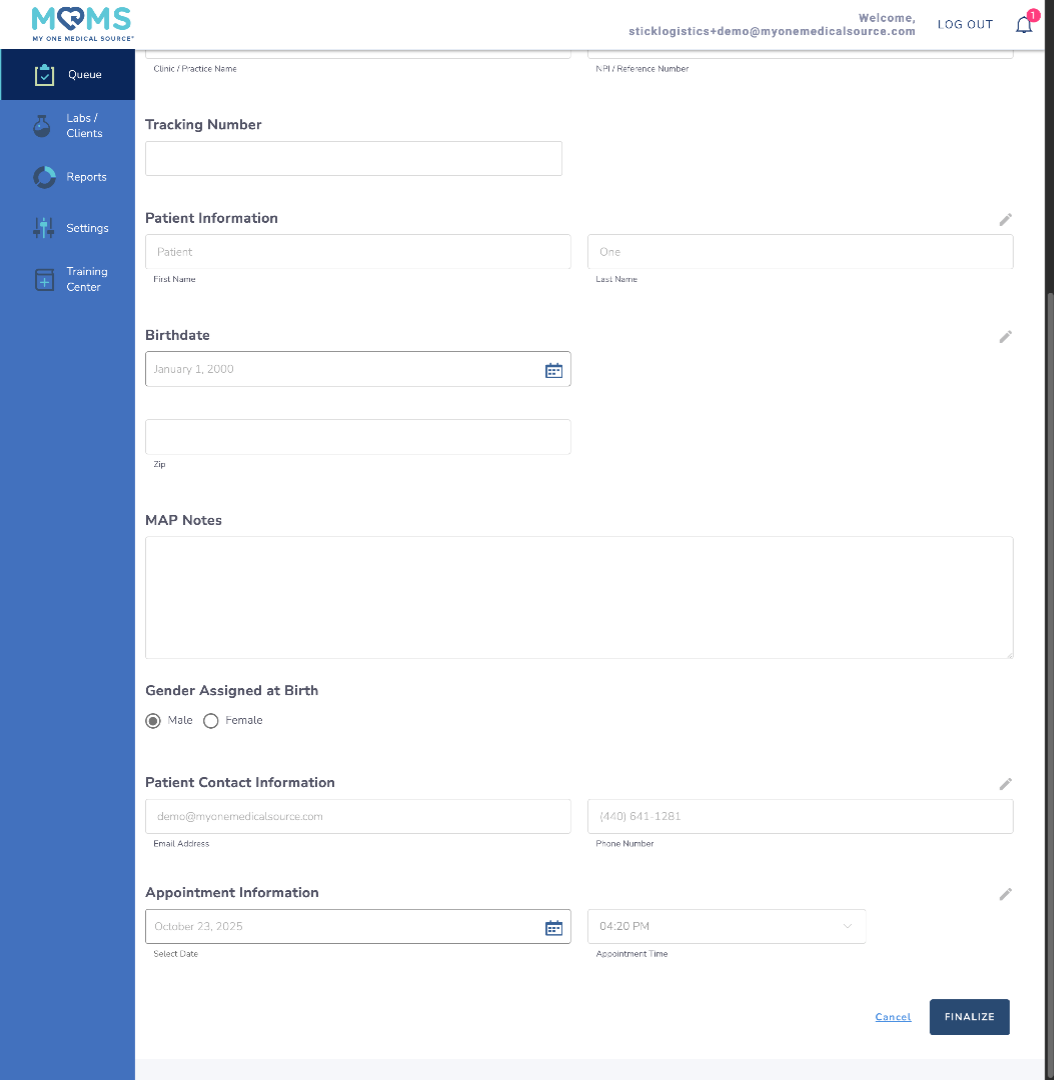
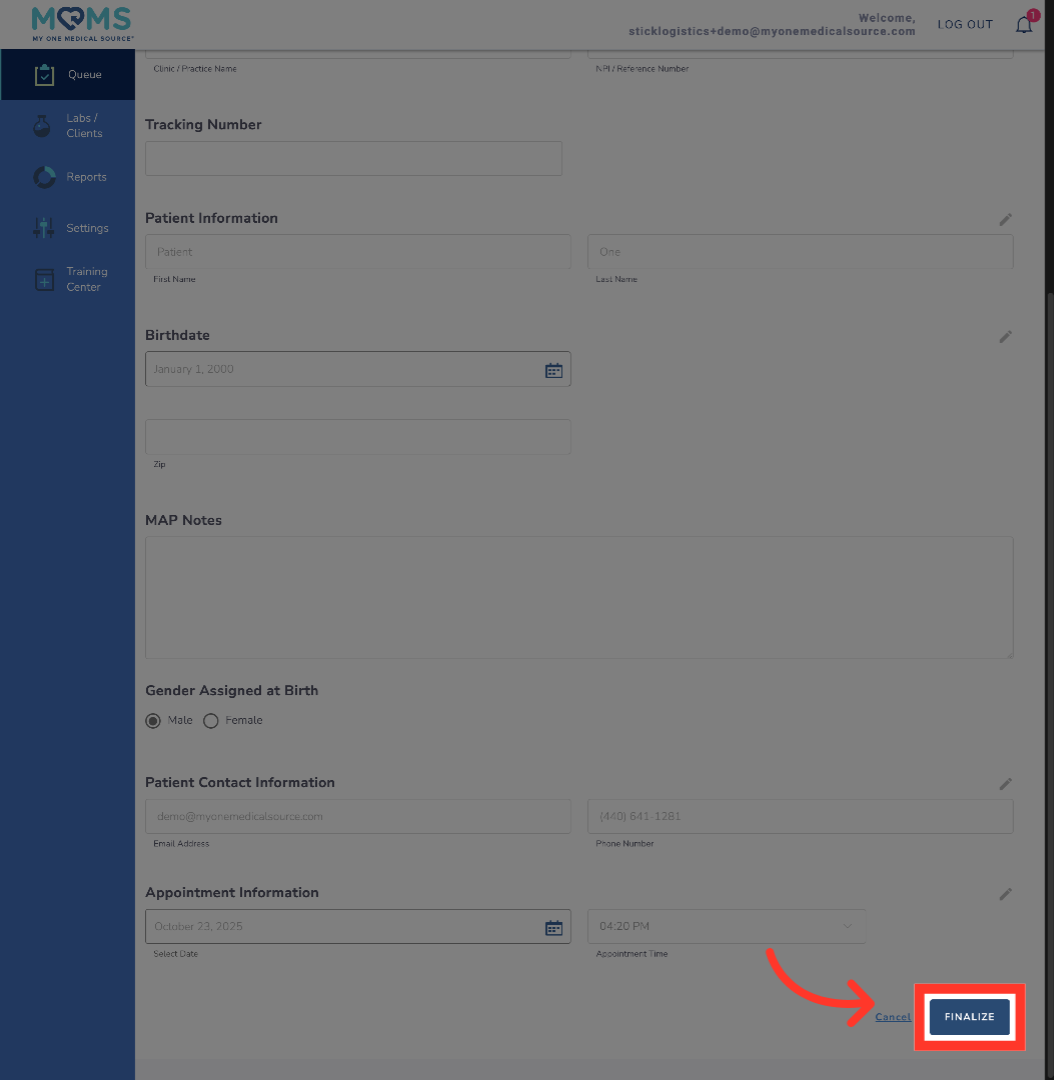
9. Finalize Patient Check-In
Once the appointment has been successfully performed, click "Finalize." In doing so, this tells MOMS that the collection has been completed and the platform will automate all invoicing responsibilities to pay you for this collection.
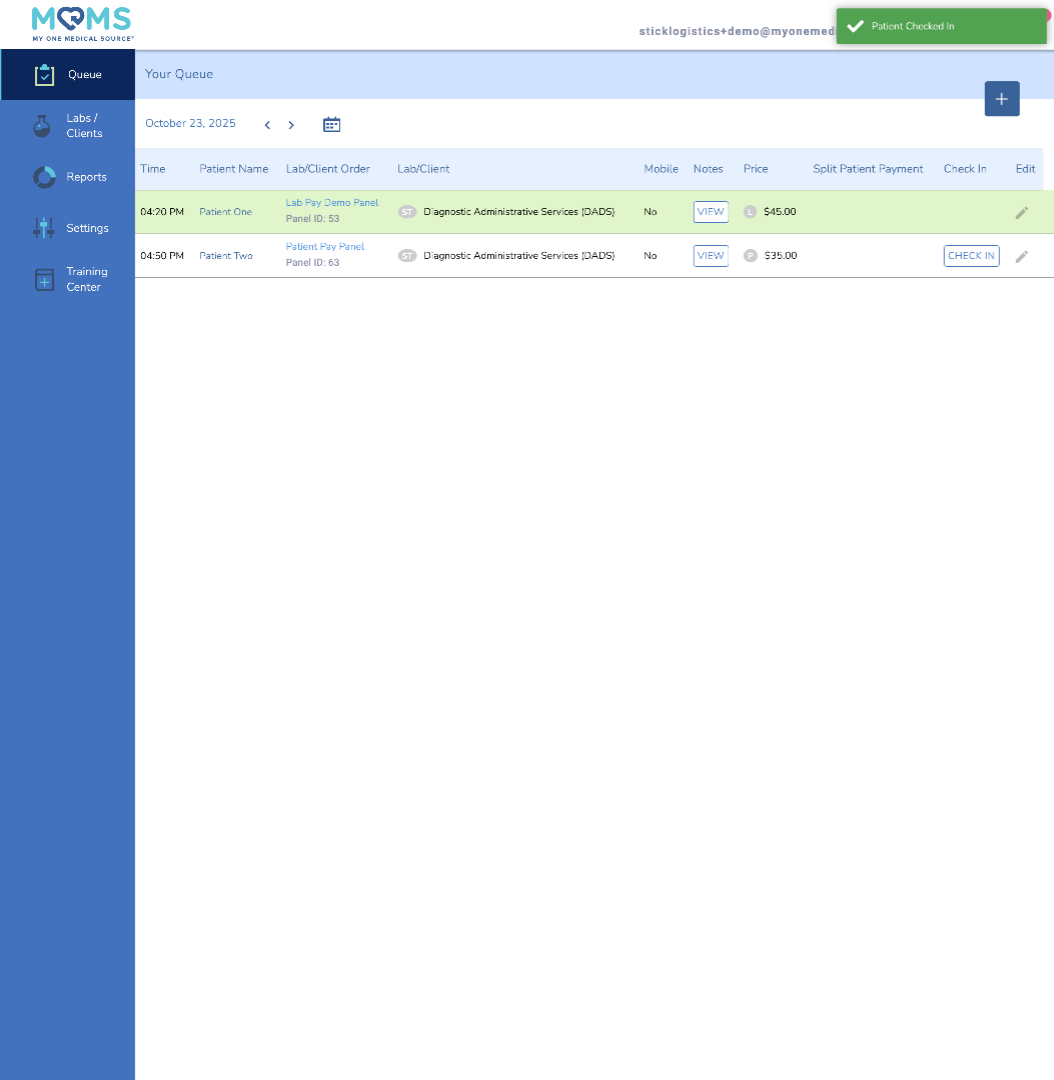
10. Patient Checked-In
Once finalized, you will be redirected to the Queue, where the appointment slot turns green. This signifies a successful collection and lets MOMS know to pay you at the end of the month
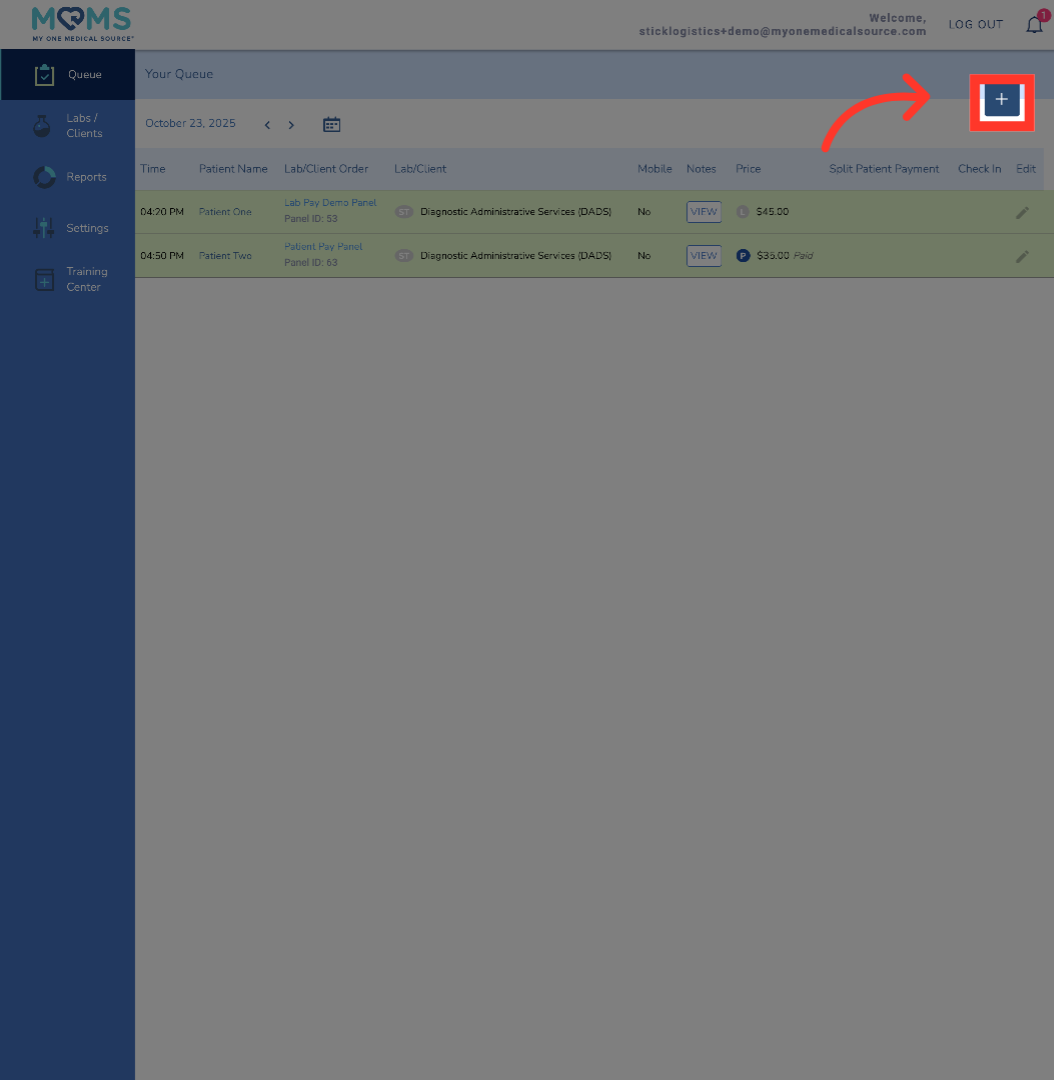
11. Adding Walk-In
In the event that a patient walks into your facility without an appointment, you can easily add them to the patient queue. Remember, in order to be paid for draws performed, all MOMS patients must be entered into the queue, checked-in and finalized. To add a walk-in, click the plus sign in the upper right-hand corner of the queue menu
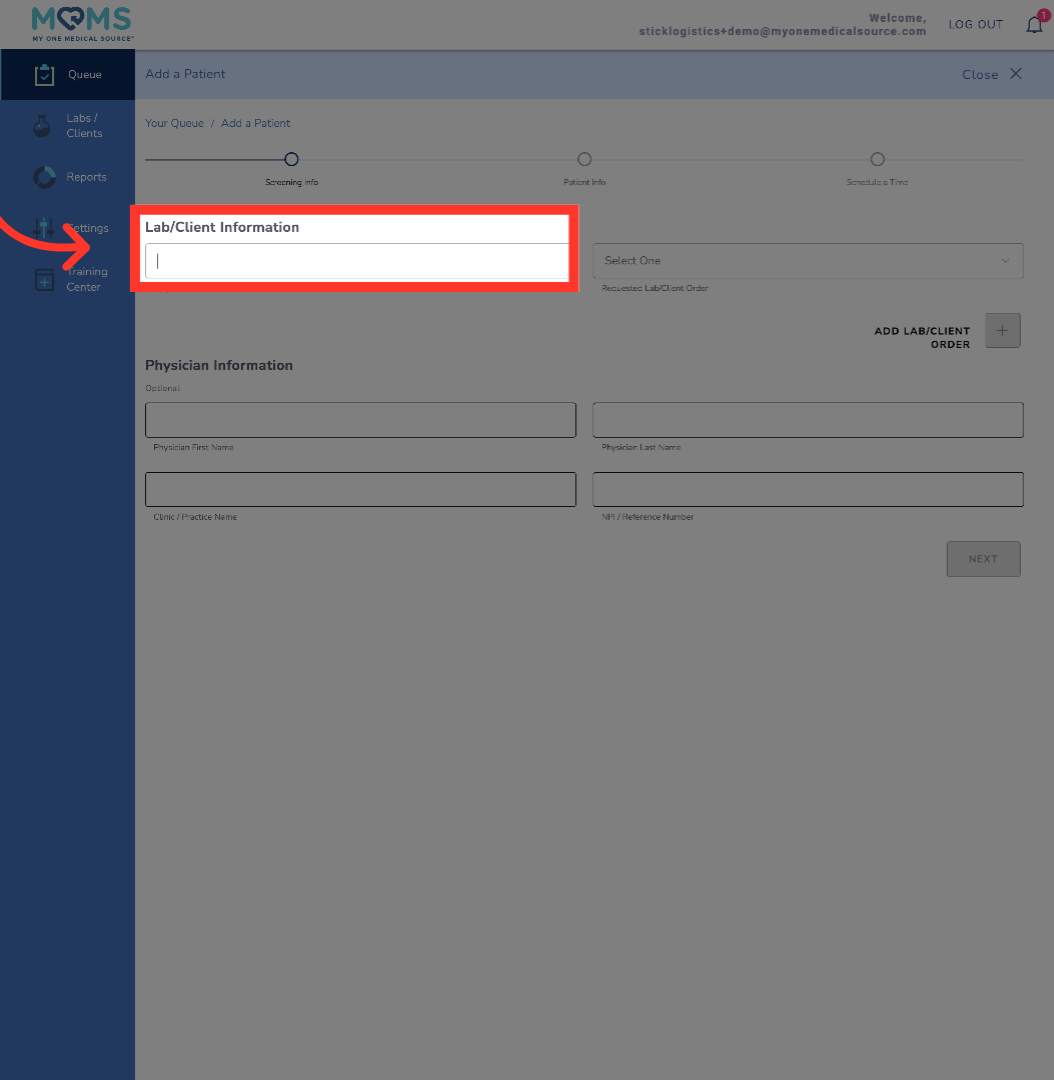
12. Patient Information
In adding a walk-in patient, you are essentially navigating through the patient journey on their behalf. The first step is to select the Lab/Client the patient needs drawn for.
13. Select Panel
Next, select the panel or kit the patient brought with them to the appointment.

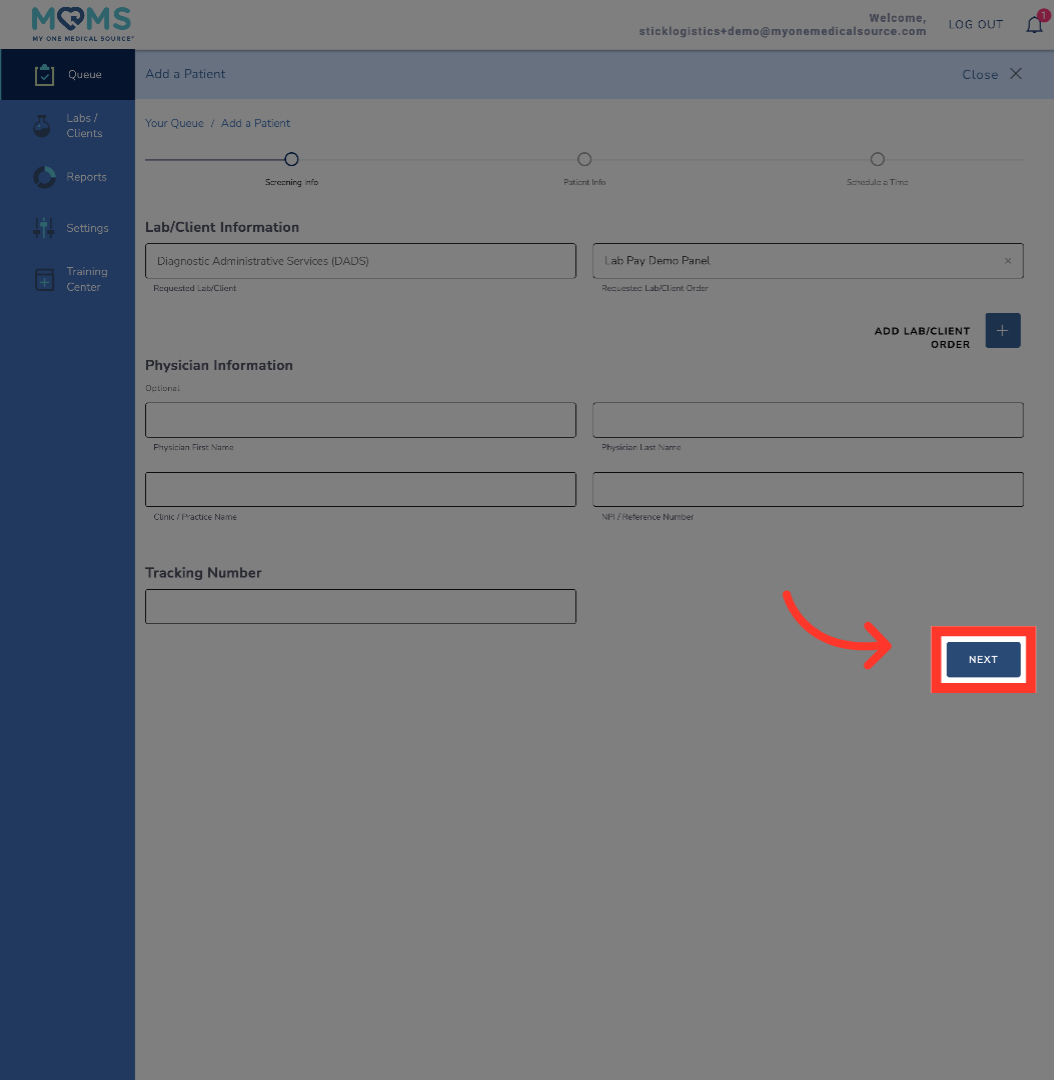
14. Proceed To Next Step
Physician information is an optional field, and usually not required. If there is a tracking number on the patient's kit you can enter that information as necessary. Click next to continue the process.
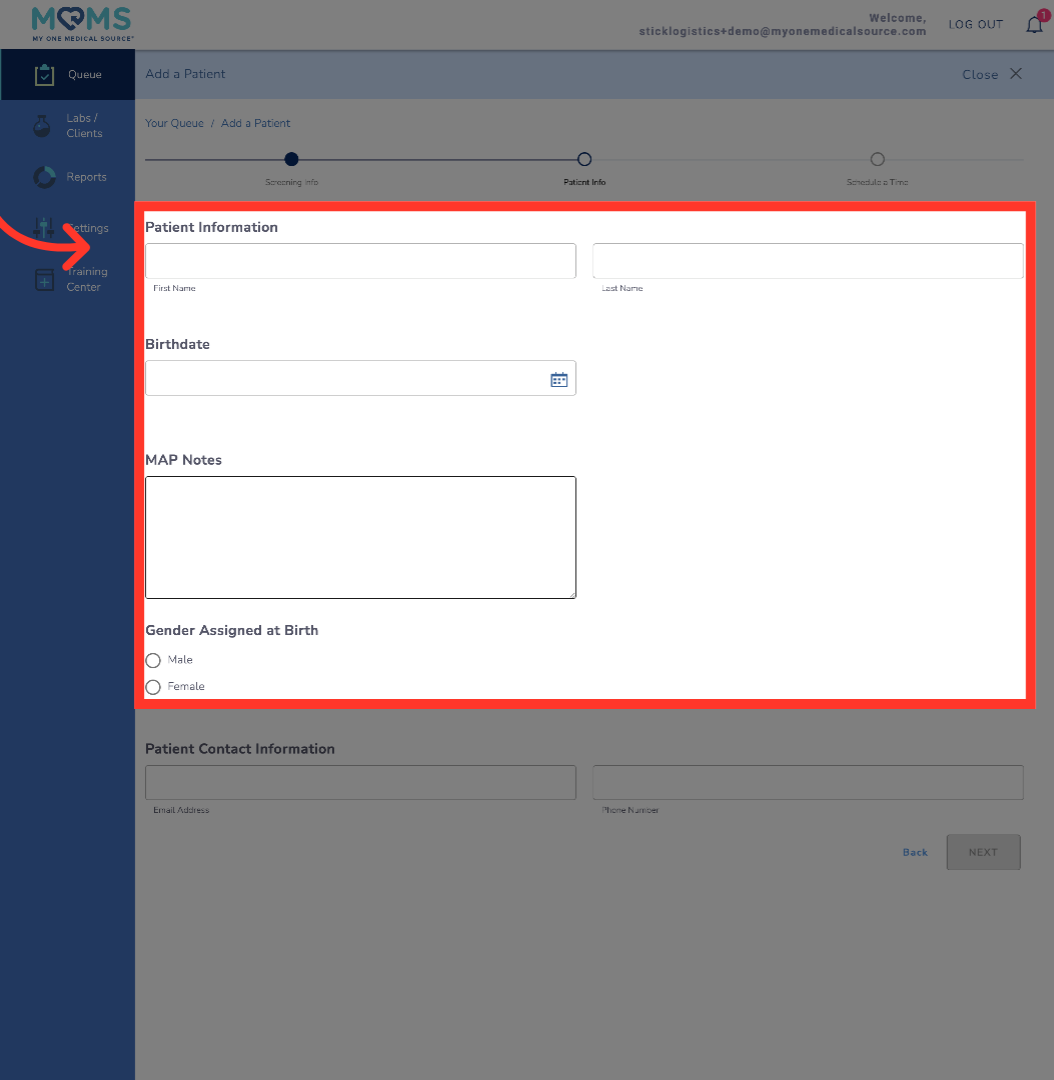
15. Enter Patient Information
Enter the required patient information, including First and Last Name, Birth date and gender assigned at birth. MAP notes do not need to be entered at this time, but are where you can add notes about the appointment for the ordering Lab/Client to view
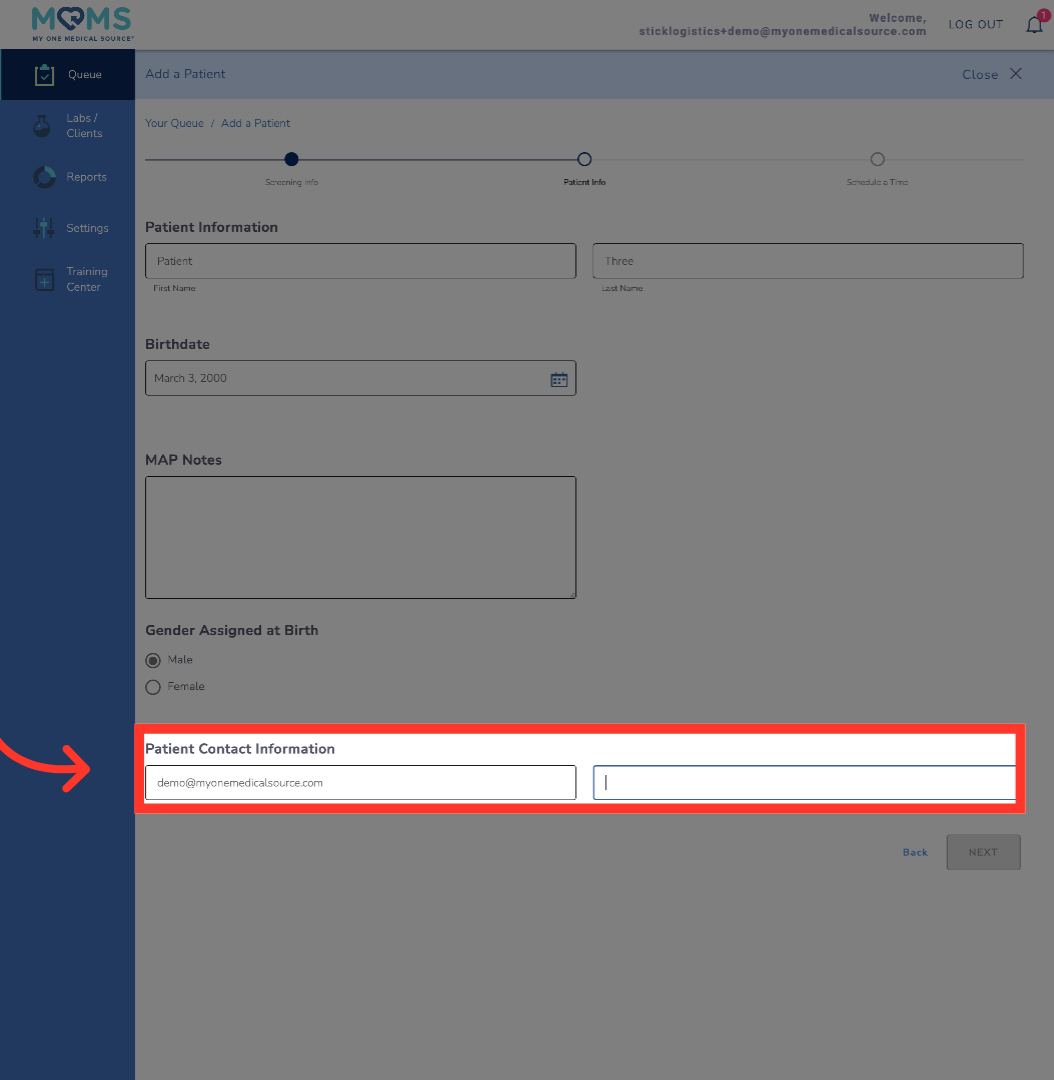
16. Enter Contact Information
The patient's contact information is usually provided during scheduling for appointment confirmation and reminder messaging. Since this is a walk-in patient, these messages do not apply. However, the information is still required so they can receive a survey after the appointment is completed.
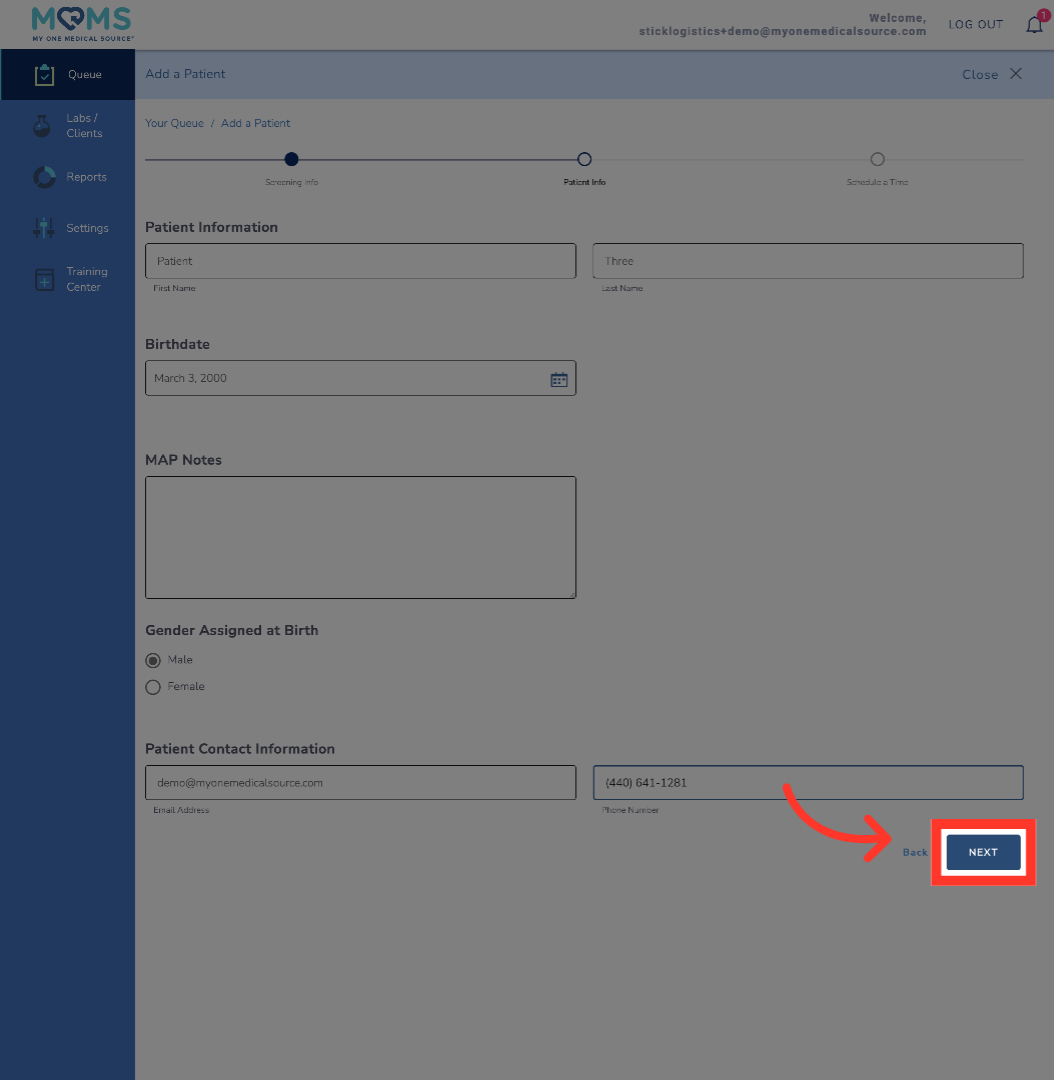
17. Proceed To Next Section
Once all the information is entered, click next.
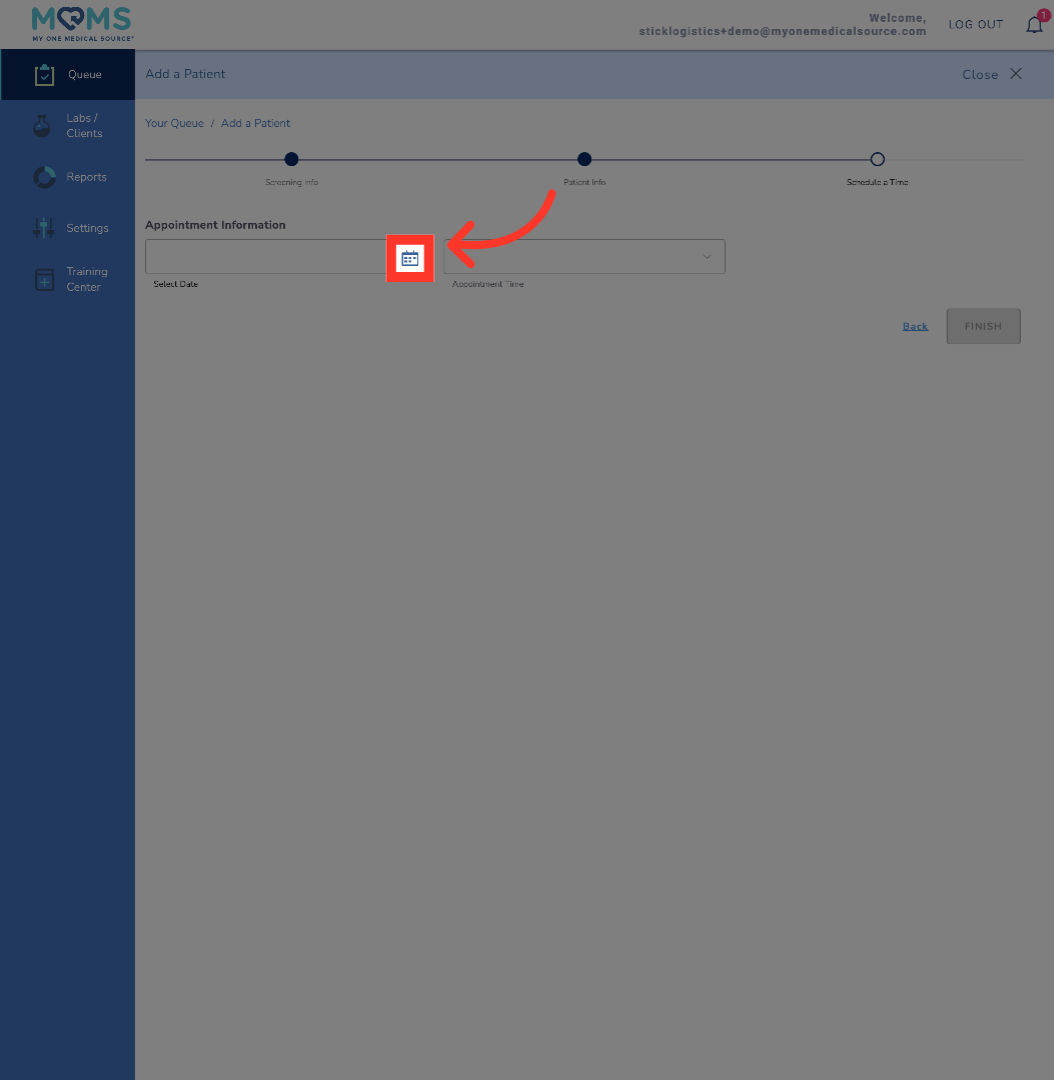
18. Adding appointment to queue
Select the date that the patient walked-in for their appointment. Note that you cannot enter past dates as they are greyed out.
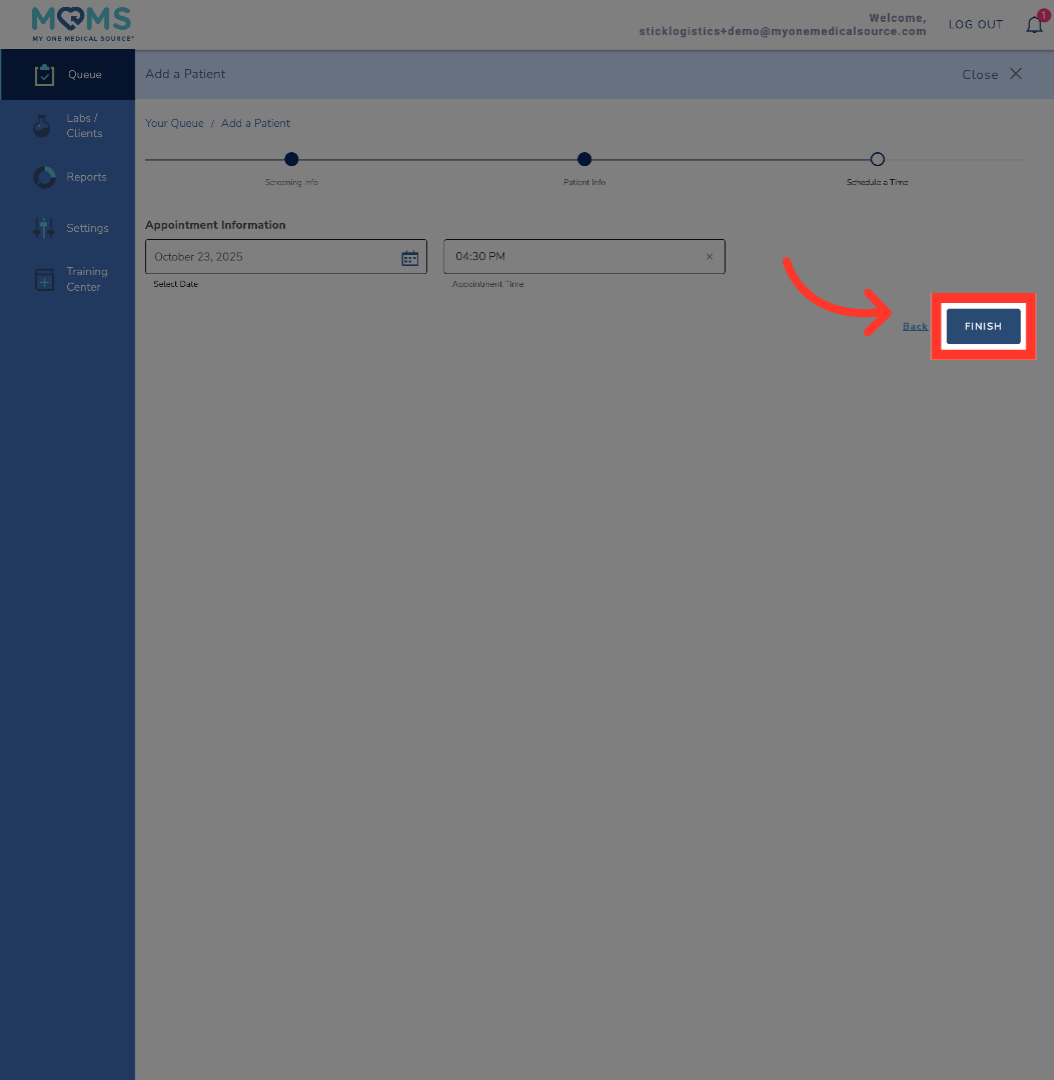
19. Select Time
Next, select the time that the patient walked-in. If any appointment slots have been taken already, they will be greyed out. The appointment time has to be during a time slot that has not yet passed.

20. Complete Appointment Setup
Click Finish to finalize the appointment scheduling for the patient and add them to the queue.
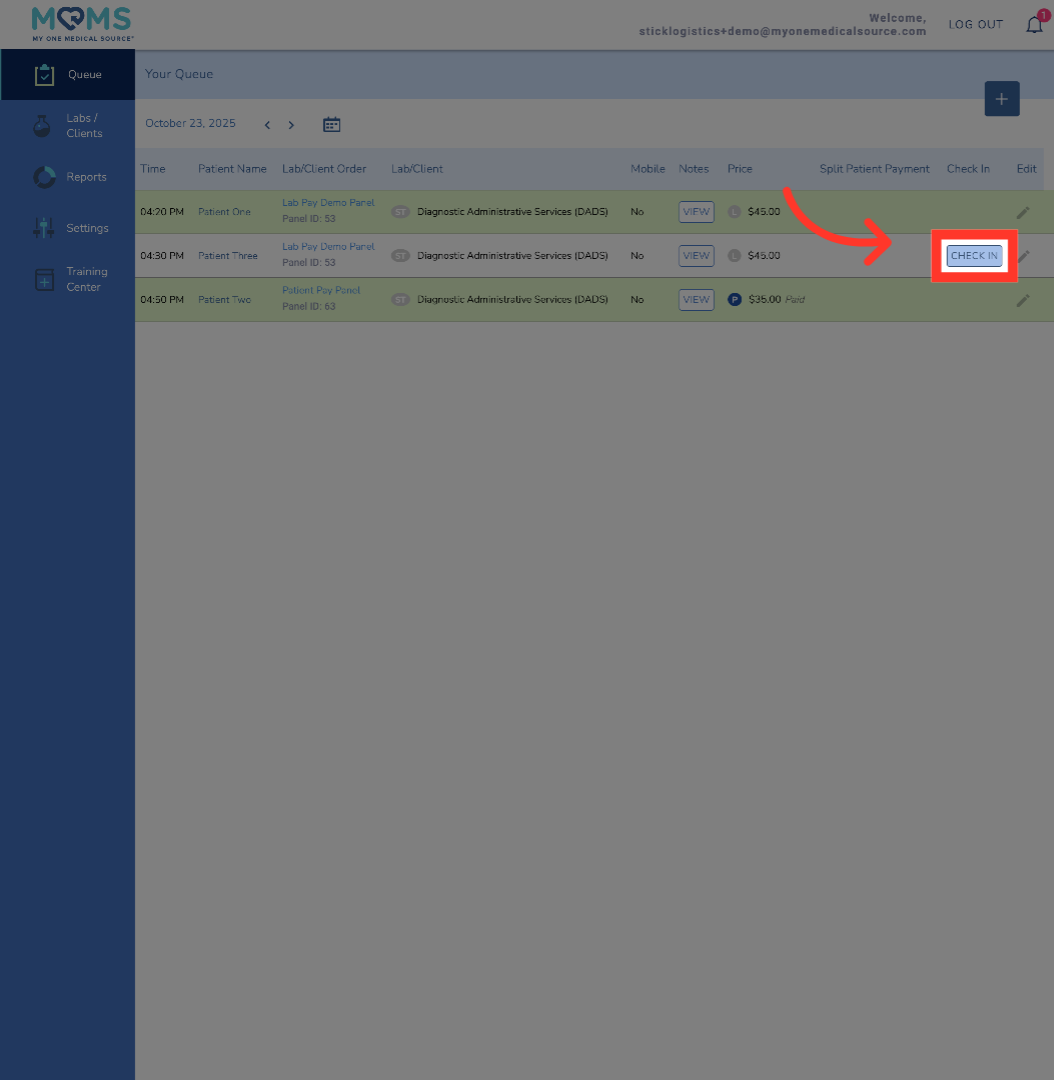
21. Complete
Now that the walk-in patient has been added, you will be redirected back to the queue. The patient check-in process remains the same and the patient can now be checked-in and finalized once the draw is completed successfully. If the walk-in patient has a panel or kit that is patient-pay, you will be required to enter their credit card information on their behalf when finalizing the appointment. As a reminder, your facility will never collect payment from the patient for a MOMS collection
You should now have an understanding of how to view the patient queue, check-in patients after successful collections, and adding walk-in patients to the queue. As a reminder, you will never charge a patient for a MOMS collection. All payment is facilitated through the portal's automation. Also, in order to get paid for MOMS draws performed, all patients must be checked-in and finalized on the MOMS queue.