![MOMS Email Signature-2.png]](https://knowledge.myonemedicalsource.com/hs-fs/hubfs/MOMS%20Email%20Signature-2.png?height=50&name=MOMS%20Email%20Signature-2.png)
This tutorial will show MAP users how to set up the parent child relationship for multiple locations
Login to your MAP account at map.myonemedicalsource.com.
1. Parent-Child Functionality
MAPs with multiple locations under the same umbrella or ownership can utilize the MOMS Parent-Child functionality to manage multiple locations and see the respective patient queues.
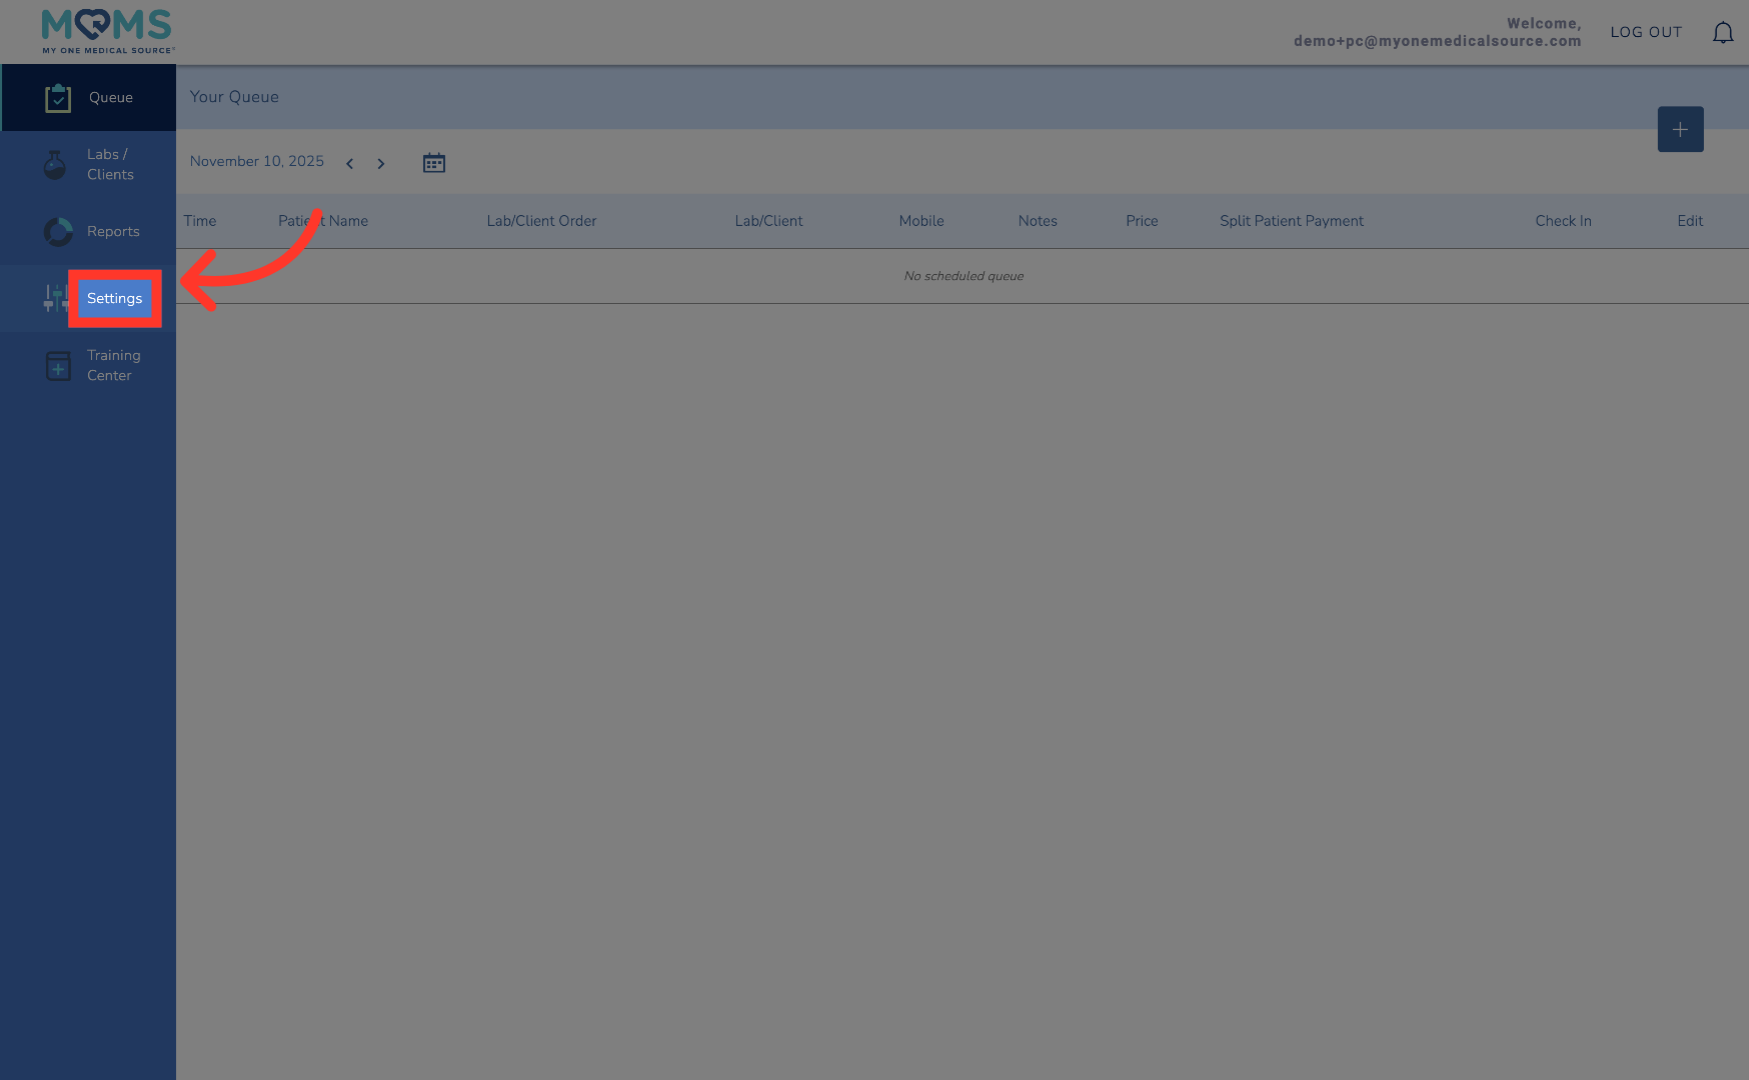
2. Go to Settings
To activate the parent-child functionality, click the Settings menu on the left hand navigation bar.
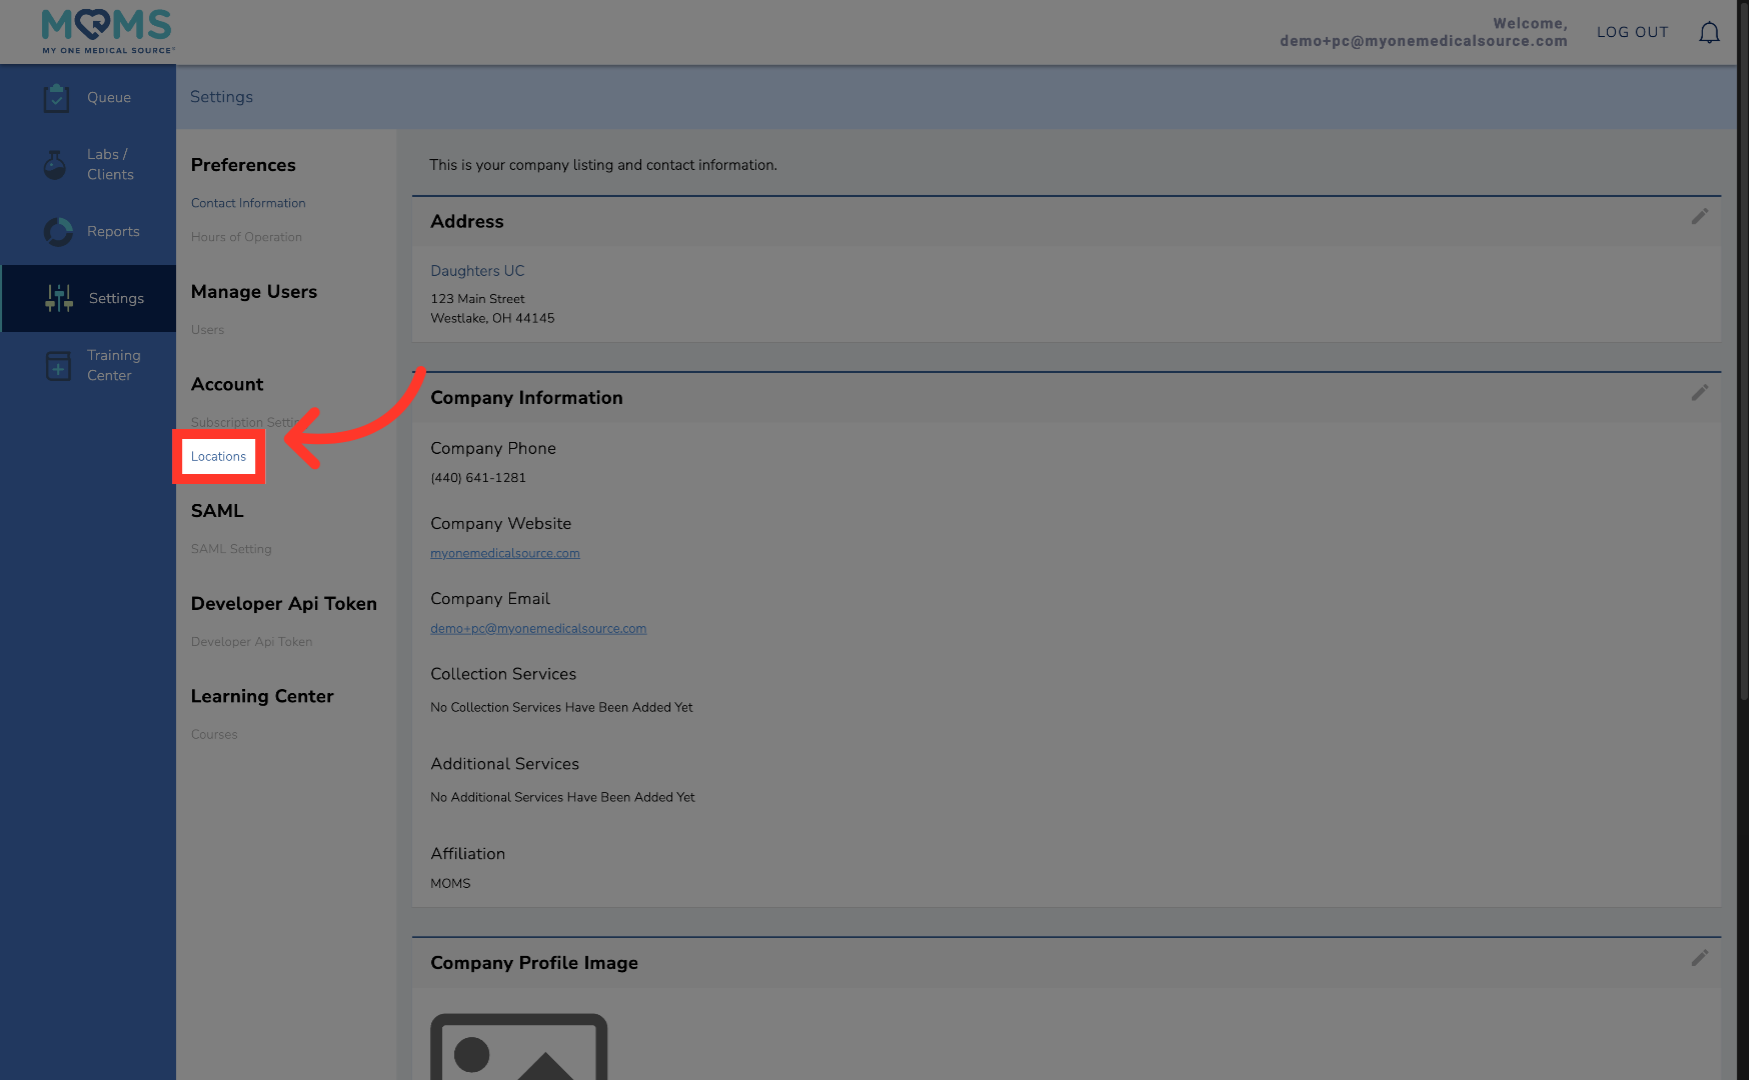
3. Click "Locations"
Click Locations to turn on the functionality and invite your children accounts.
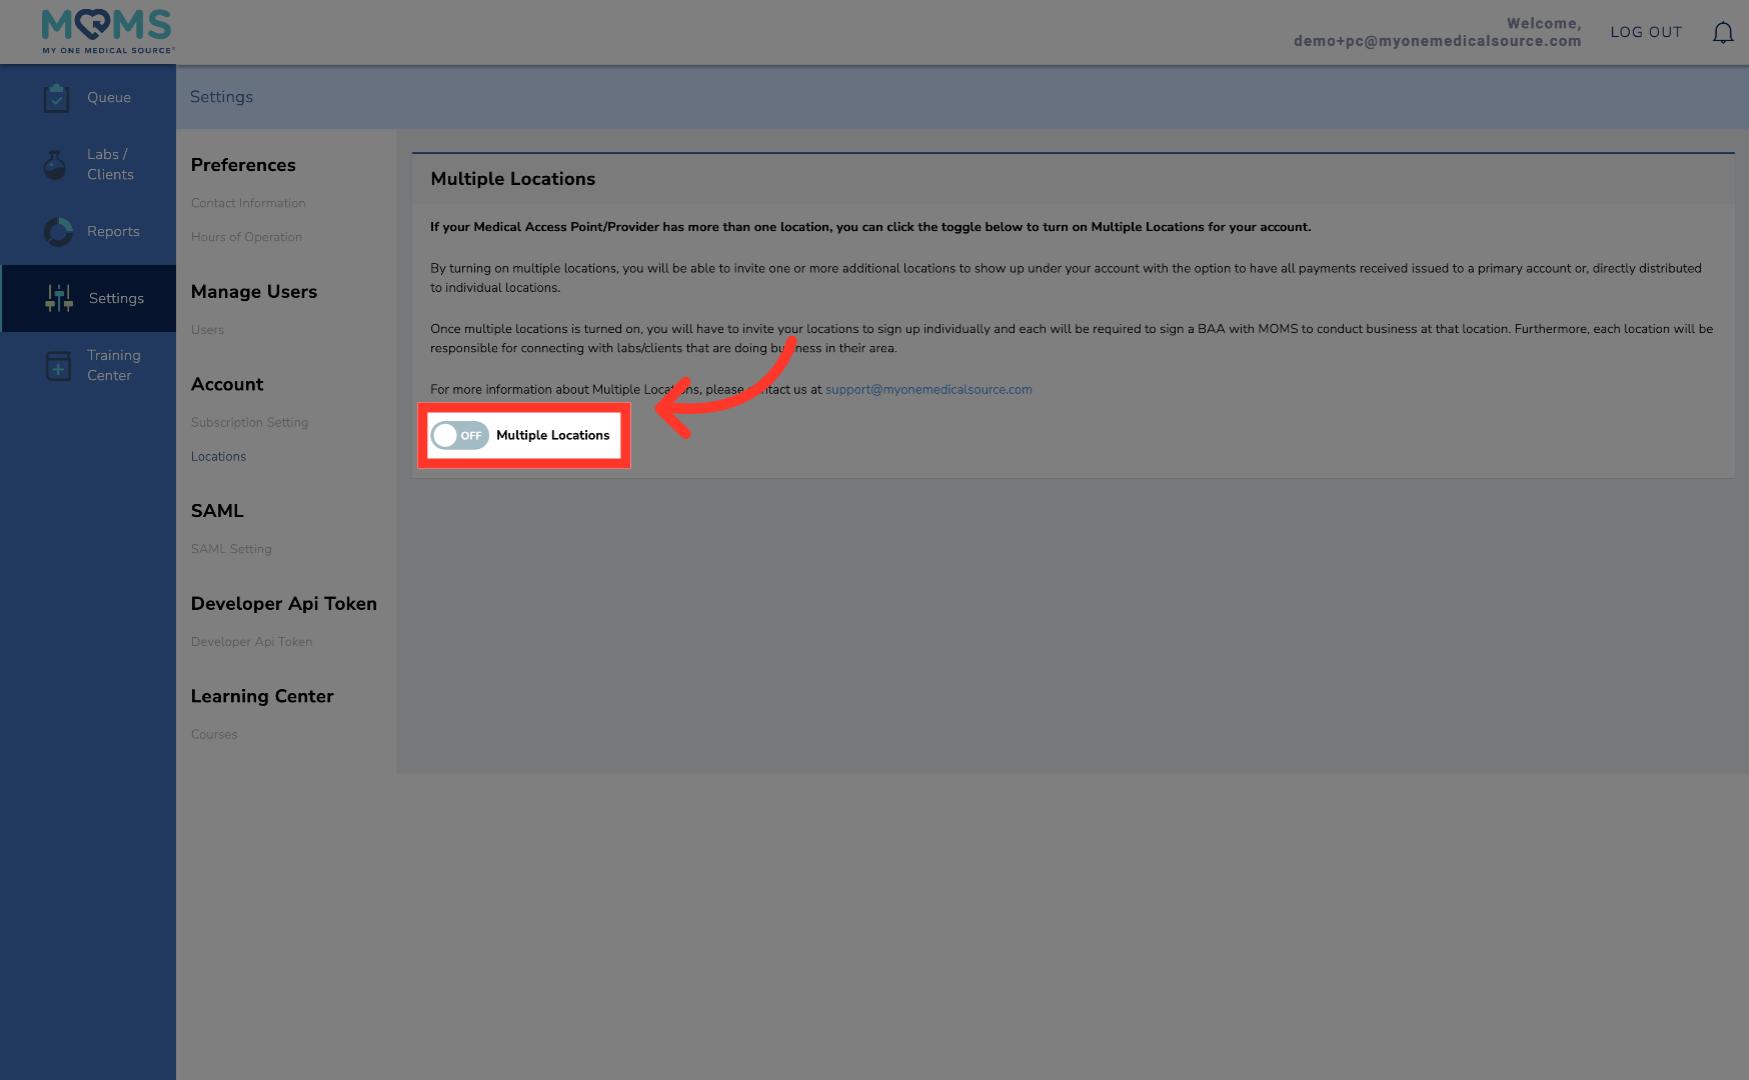
4. Toggle Multiple Locations "On"
To turn on this feature, toggle the Multiple Locations button to "On." Please note, in doing so, you are not able to turn this feature off.
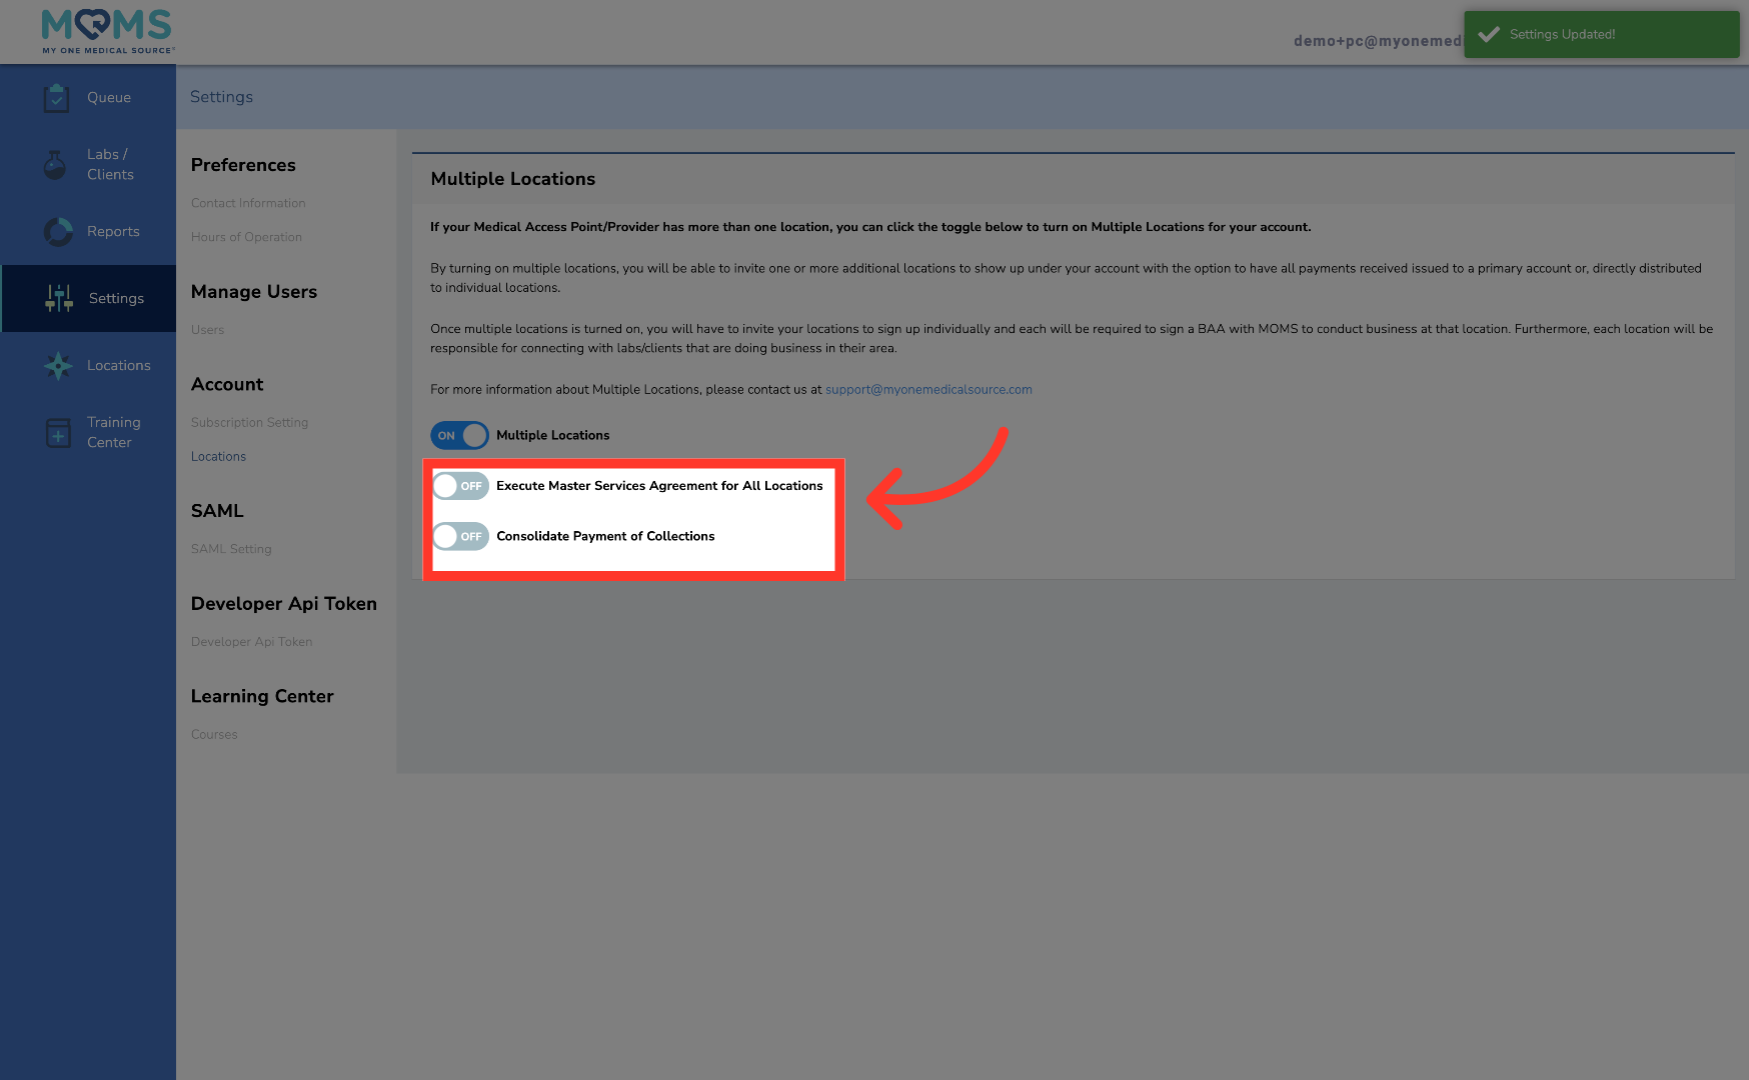
5. Additional Options
Click on another location option to edit additional entries.
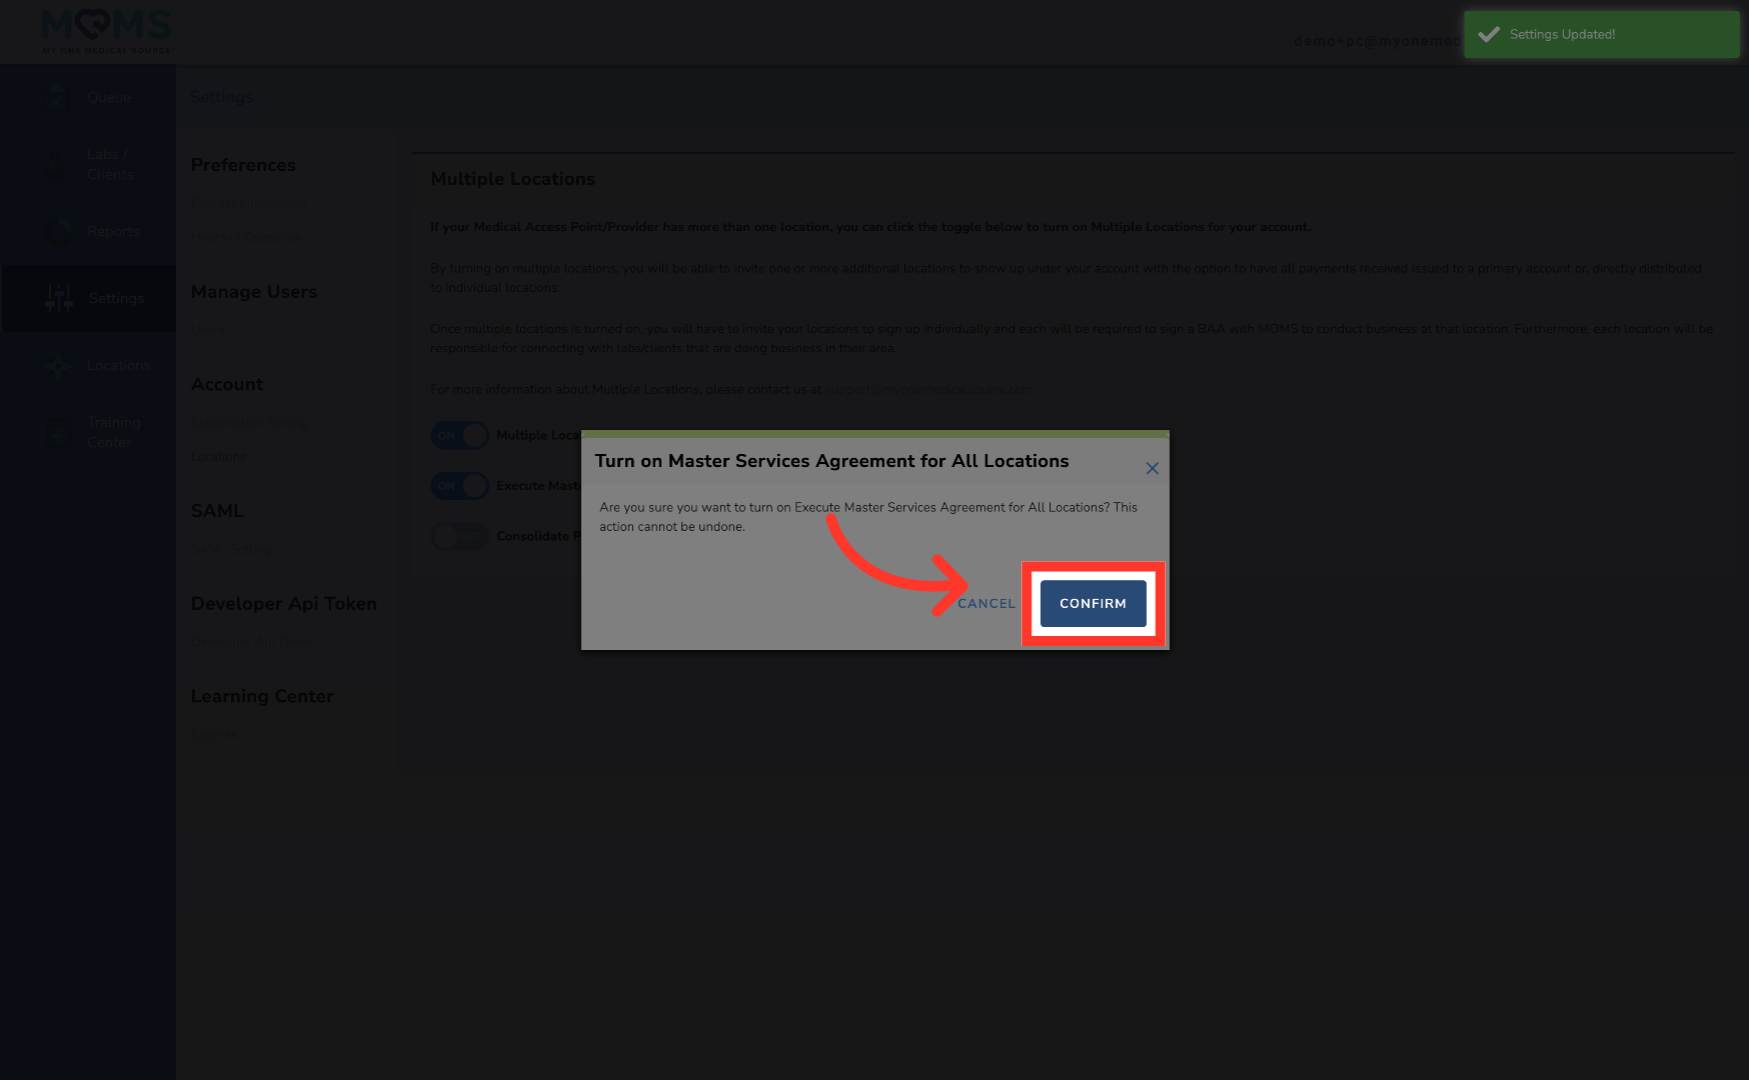
6. Confirm Turning On Features
Click Confirm to apply the changes to the location.
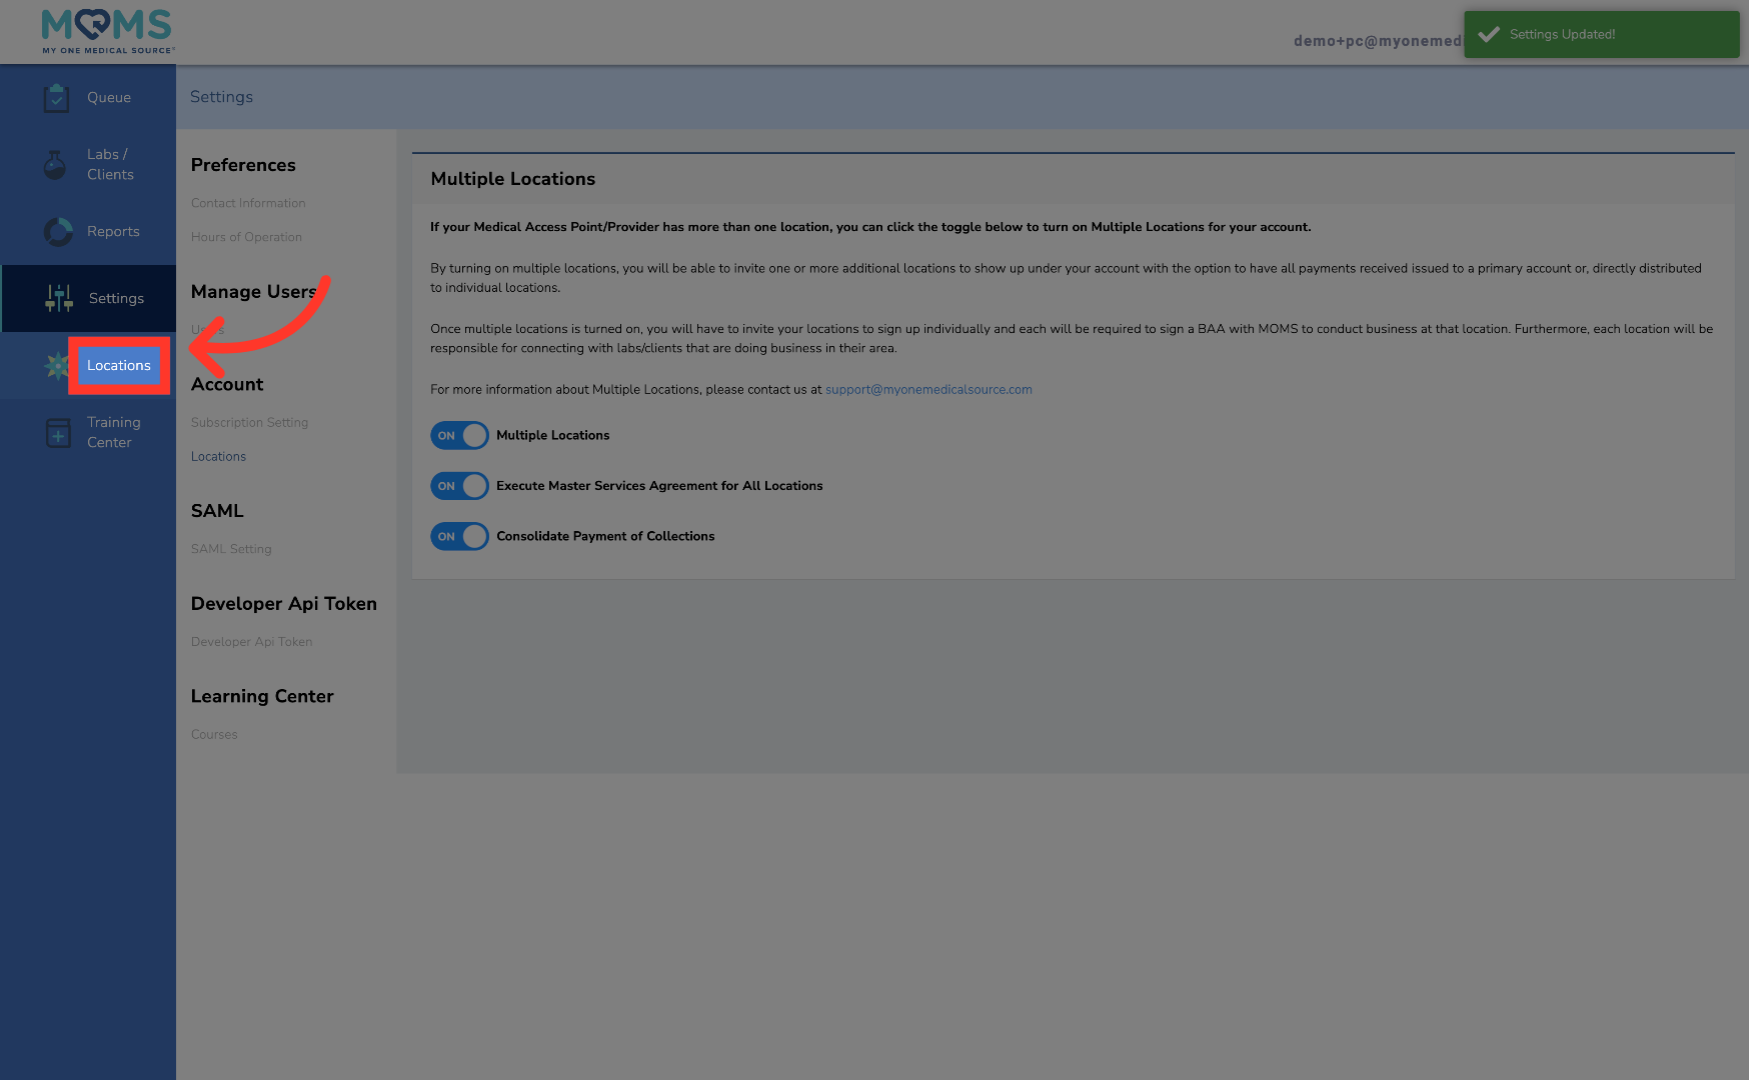
7. New Locations Menu Populates
Once turned on, a new menu will populate in the left hand navigation titled "Locations." This is where you will manage your parent-child relationship.
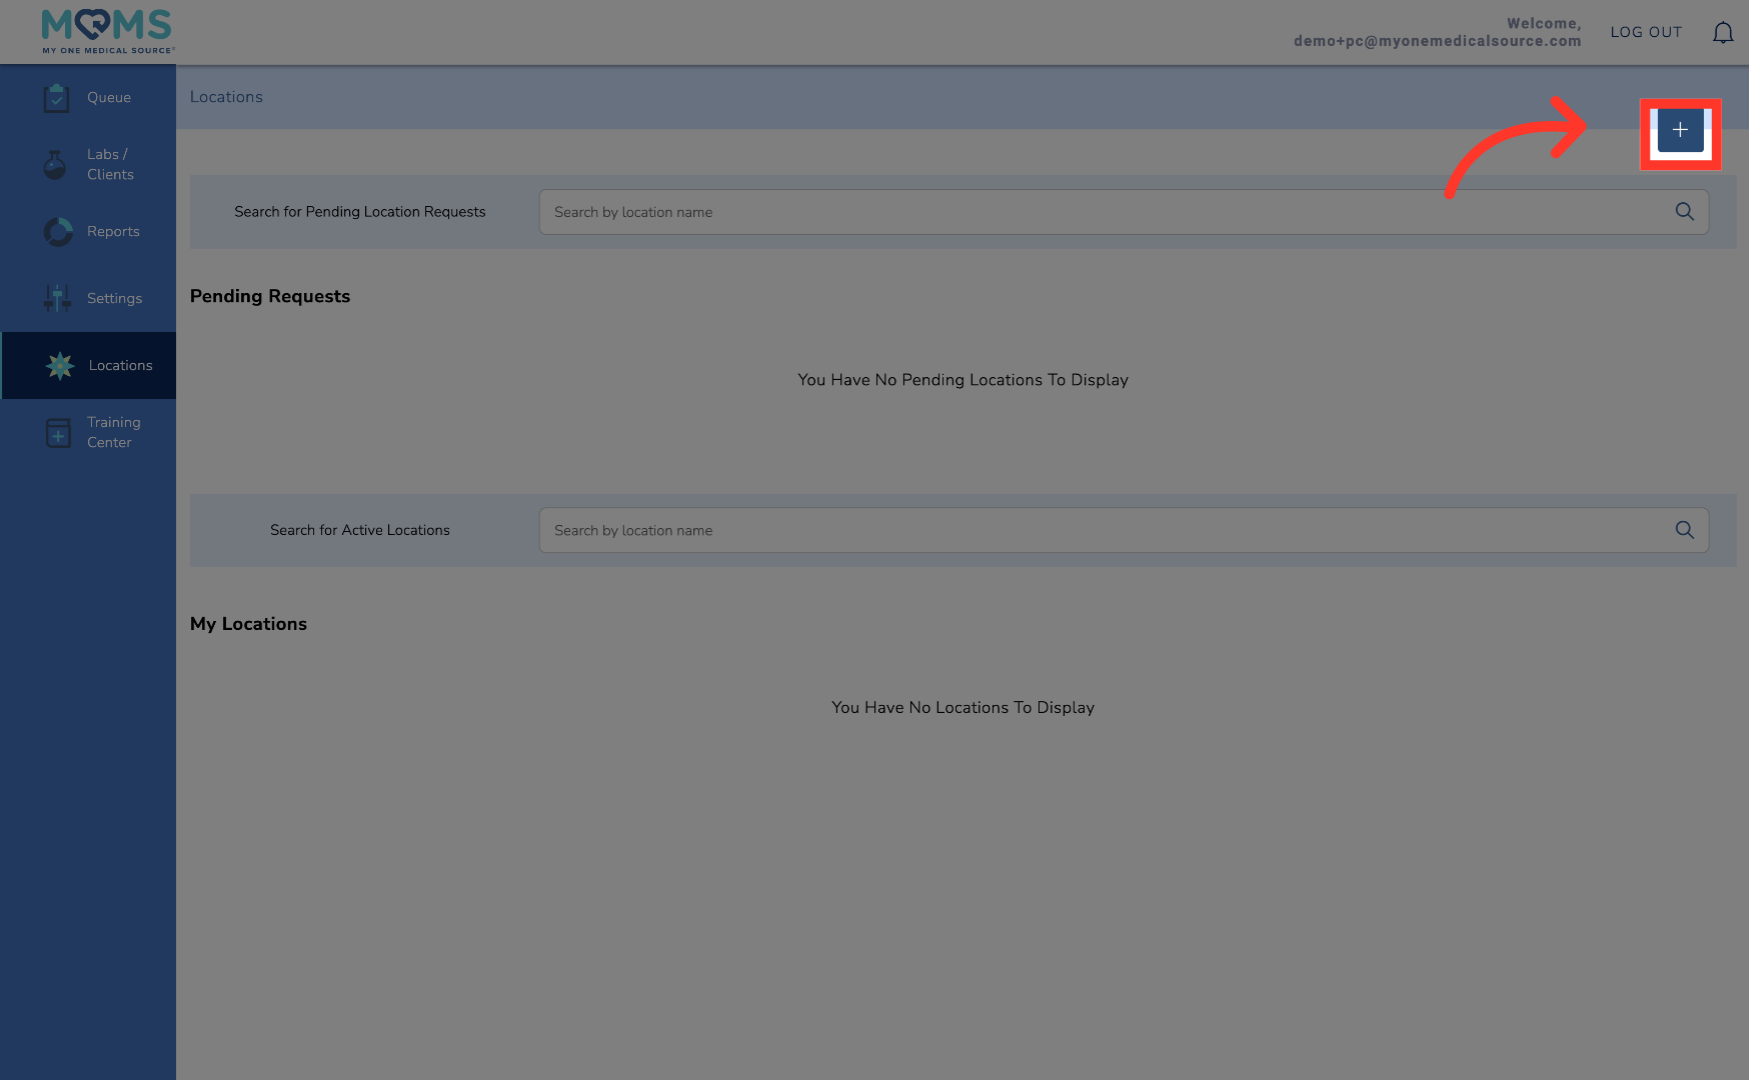
8. Invite Children Account
To invite a child location, click the plus sign in the upper right-hand corner.
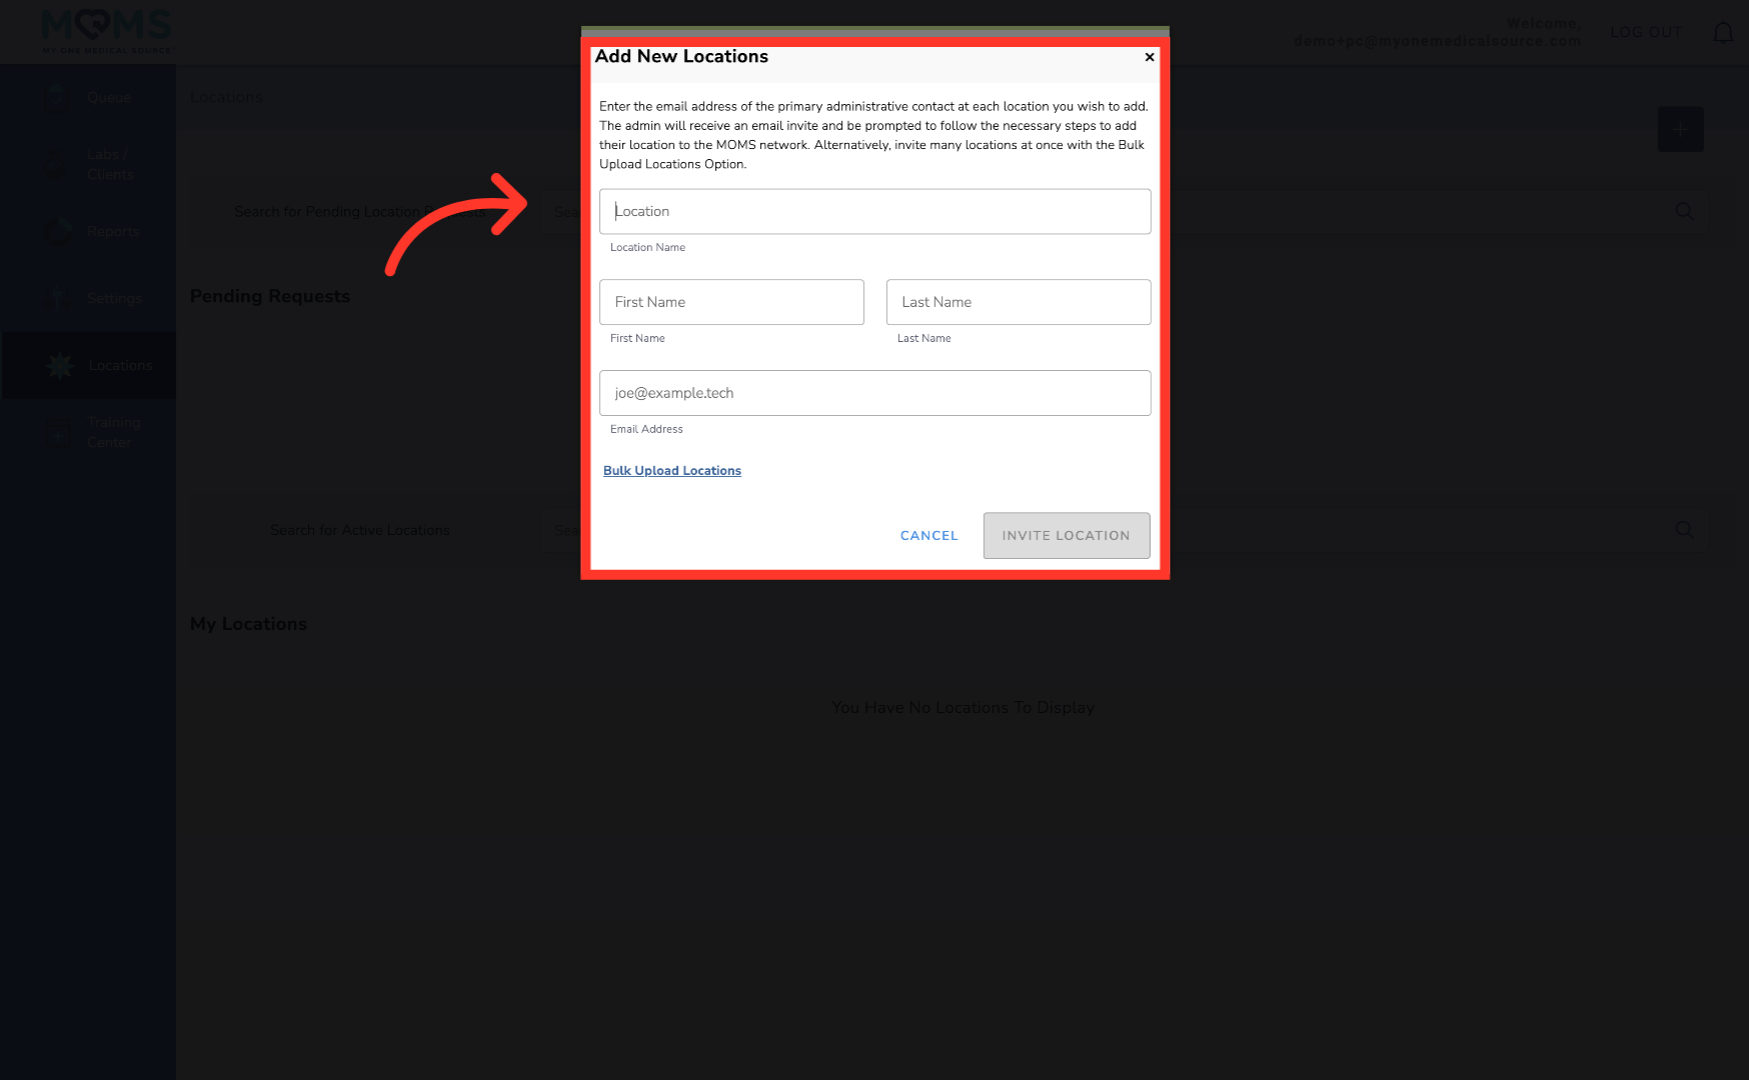
9. Enter Child Account Information
Enter the required information to invite a child location to the MAP network. This can be done individually, or in bulk by clicking "Bulk Upload Locations" to download a csv template, which can be filled out and uploaded. Once the information is added, click Invite Location to send the invitation to the user's email. They will then go through the onboarding process for the new account for the child location.
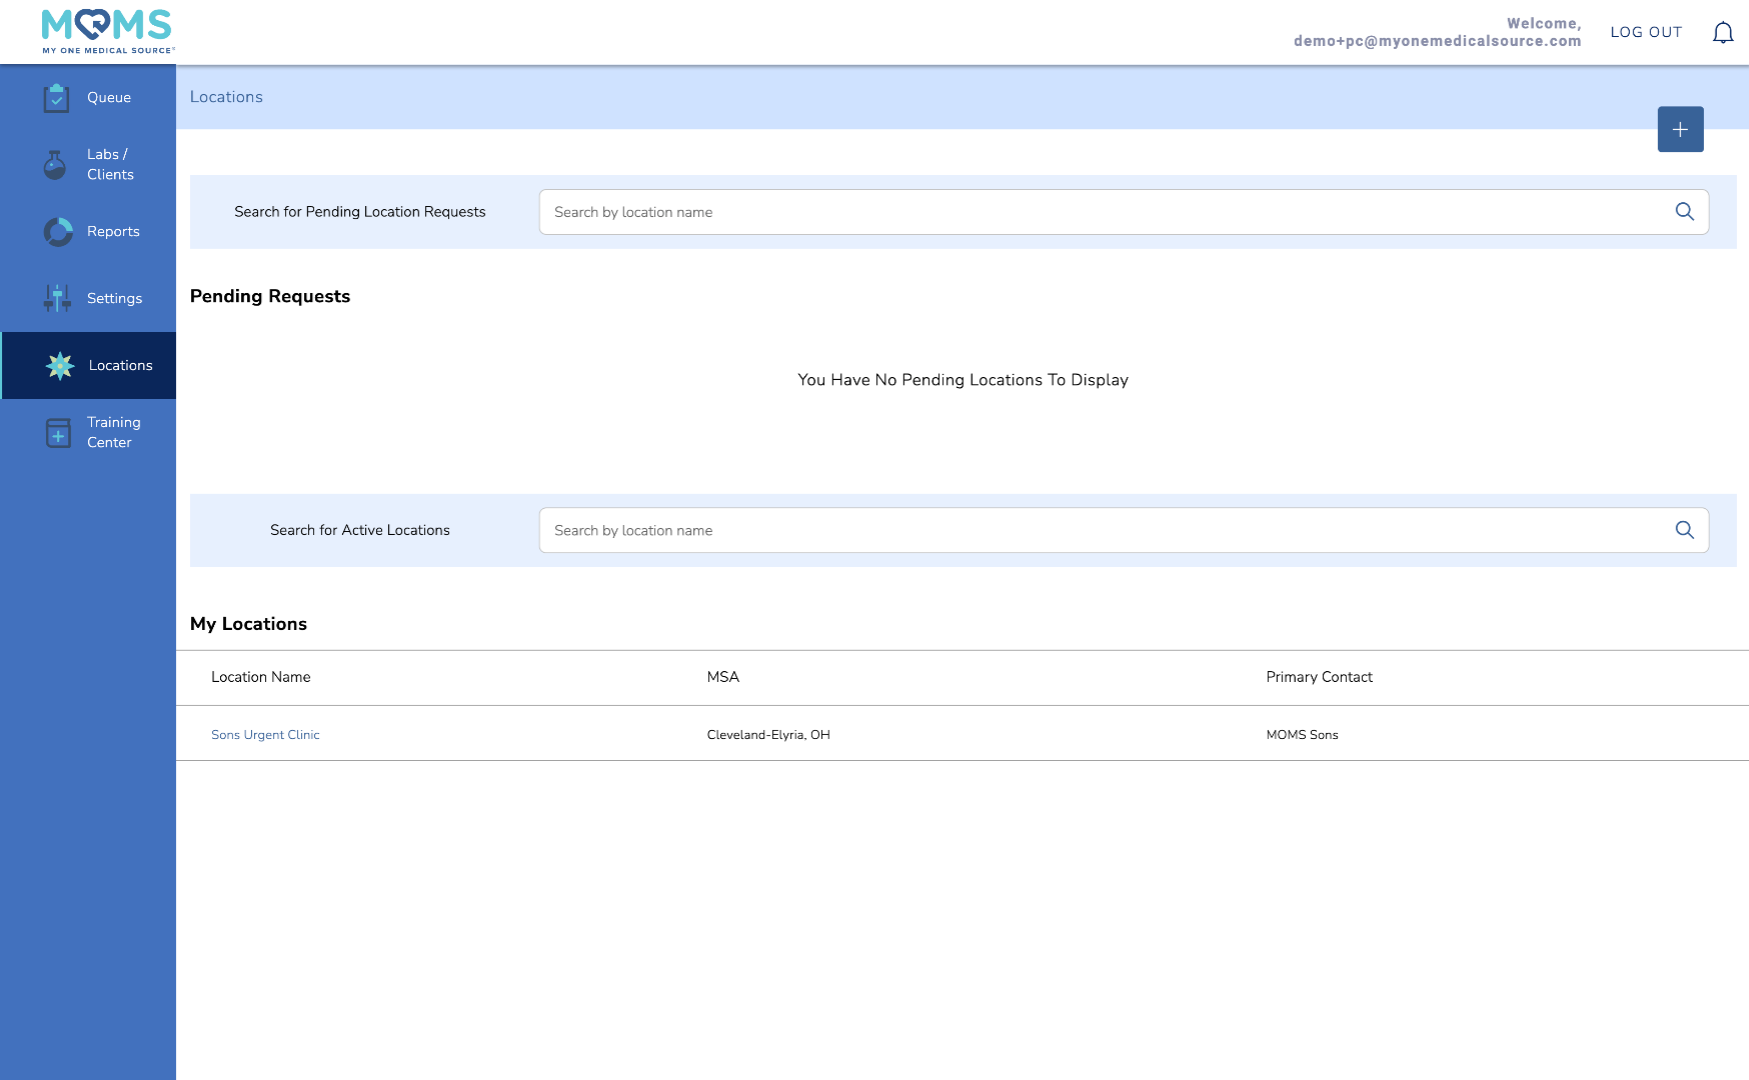
10. Pending and Active Children Accounts
Once invited, the child account will populate under "Pending Requests." After onboarding the location will be active and then populate under "My Locations."
As a parent MAP, you can view the queue, check in appointments at the children account and view the respective activity report for each account. Please remember that if the accounts share an email address, an alias will have to be used. For more information on this process, please contact your account manager.