![MOMS Email Signature-2.png]](https://knowledge.myonemedicalsource.com/hs-fs/hubfs/MOMS%20Email%20Signature-2.png?height=50&name=MOMS%20Email%20Signature-2.png)
This tutorial guides you through registering and onboarding as a MAP: Medical Access Point or Provider™ on the My One Medical Source platform.
Introduction
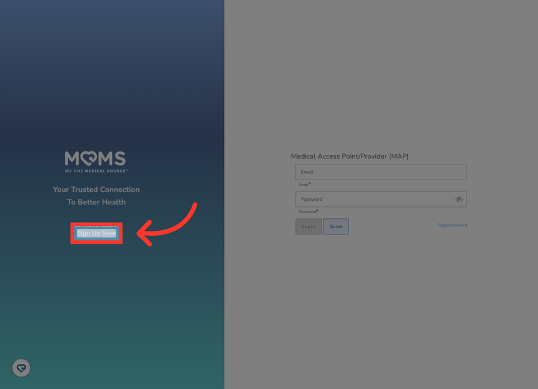
The first step to becoming a MAP is to create your account on the platform. Click the Sign Up Now button to begin the process.
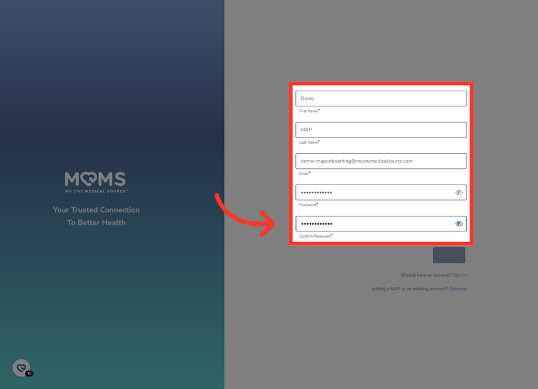
Enter Required Information
Enter the required information to create your account. This includes your first and last name, email, and a password.
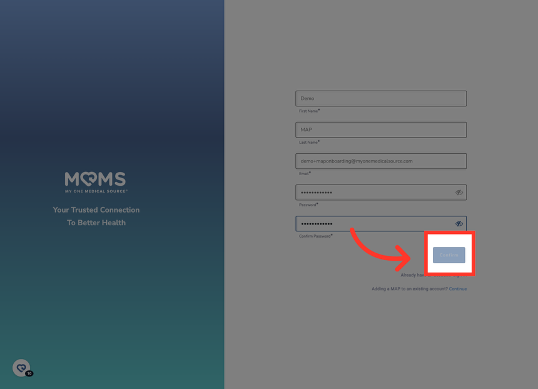
Submit Information
Once the information is entered correctly, click Confirm. You will then receive the confirmation email to your inbox.
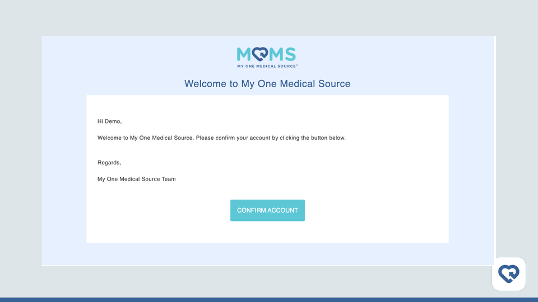
Confirm Account
Once you receive the confirmation email, click Confirm Account to be directed back to the onboarding process.
Sticklogistics® Sign Up
The first step of onboarding is to create your Sticklogistics® login for the MOMS-powered learning management system.
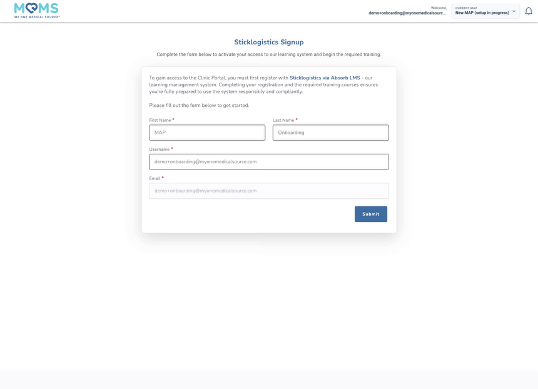
Finish Sticklogistics® Sign Up
The information entered will pre-populate. Click Submit to create your account on the LMS.
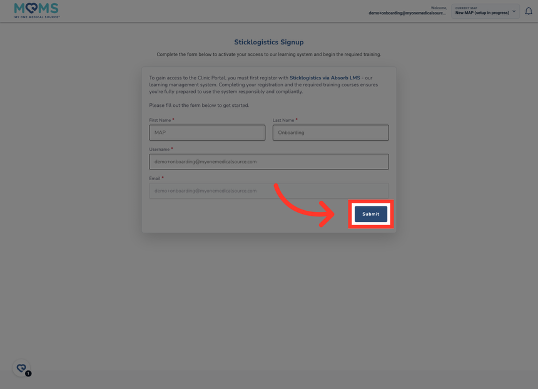
Sticklogistics® Menu
The Sticklogistics menu will show you the courses that you are required to complete. The required course details how to use the MOMS platform on a high level. This is required for all new MAP users. As you connect with Labs and Clients, required courses will appear here. Completion is required before you are able to perform draws for the respective labs.
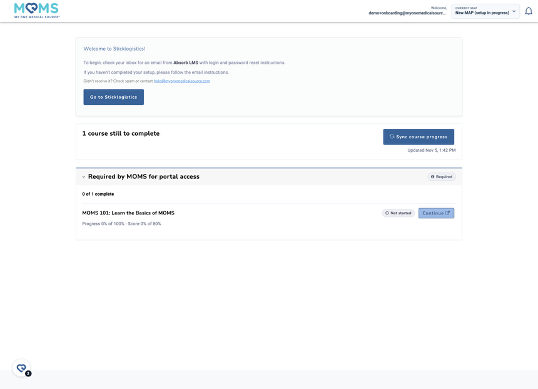
Continue to the LMS
Click Continue to be directed to the module.
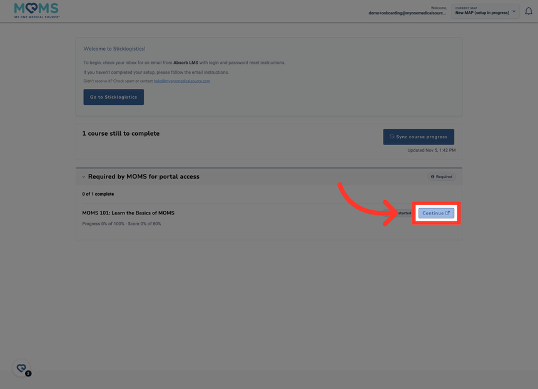
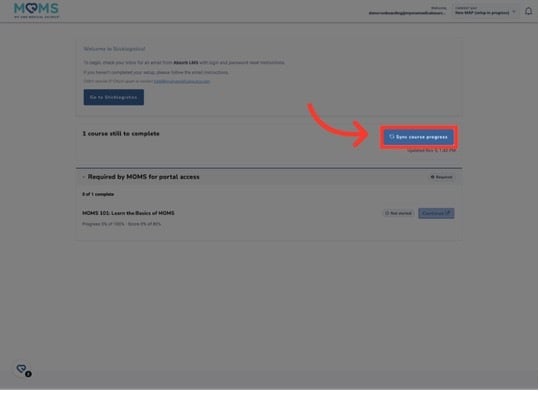
Sync Course Progress
Upon completion of the module, click Sync Course Progress to continue. Once completed successfully, you will be able to finish your MAP onboarding.
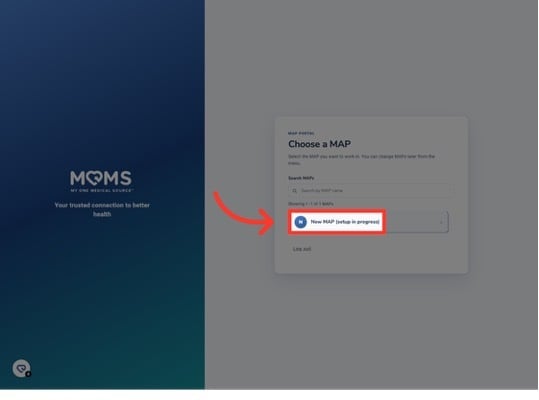
Access New MAP Setup
Click your New MAP (setup in progress) to continue onboarding.
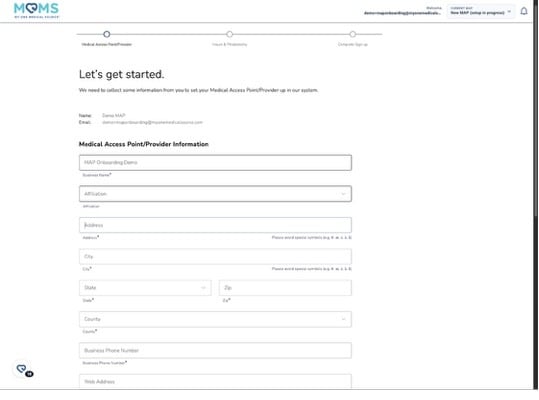
Provide MAP Information
Provide your MAP's information including your business name and affiliation, if applicable. Start typing your business address into the address field. Google Maps will provide suggested address information to make this process easier. Select the address from the dropdown, or type it in by hand. If your county is not listed, please let us know so we can add it for you. If you do not have a website, you can input myonemedicalsource.com.
Billing/Payment Information
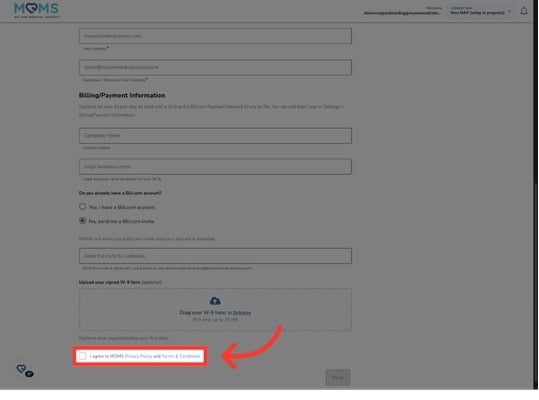
MOMS utilizes BILL.com to process payment via Direct Deposit or ePayment for all draws performed through the platform The Billing/Payment Information section is where you will enter your company name, and legal business name, such as a DBA. If you have an existing Bill account, click Yes. You will then be prompted to enter your Payment Network ID so MOMS can pay you through the platform. If you need an invite sent, select No and we will send you an invite directly through the Bill platform. Please note, that MOMS does not pay via check. ePayment or Direct Deposit is required in order to be paid. Lastly, we ask that you submit a W-9 form for your company for tax purposes.
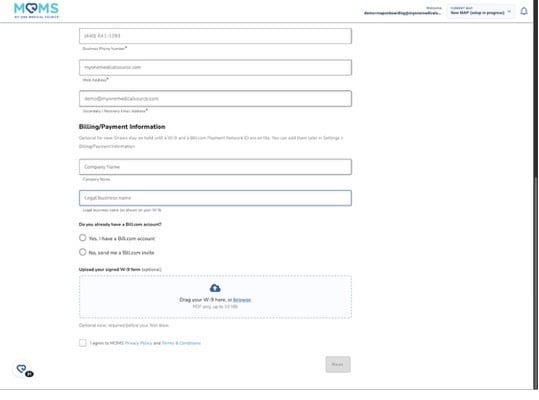
Agree to Privacy Policy
Once all information has been entered, click the checkbox to agree to the MOMS Privacy Policy and Terms & Conditions.
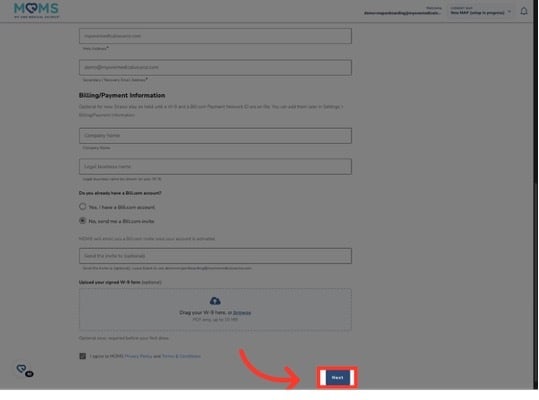
Click Next to Continue
Click Next to continue onboarding.
Preferences
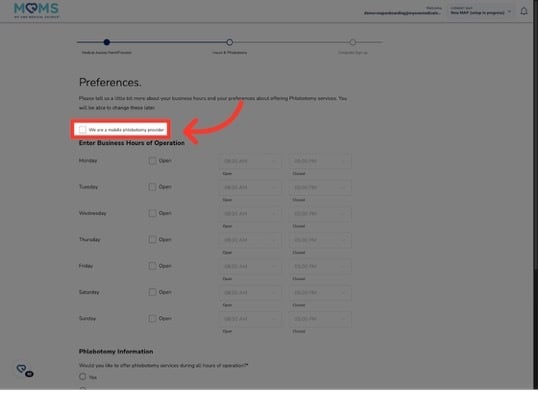
If you are a mobile phlebotomy provider, click this check box to designate your account as such. If your company offers both brick-and-mortar AND mobile services, you will need a separate account for each service. Please note that unless you have attended a quarterly mobile onboarding class, you will not be permitted to onboard your mobile account until you have done so.
Preferences
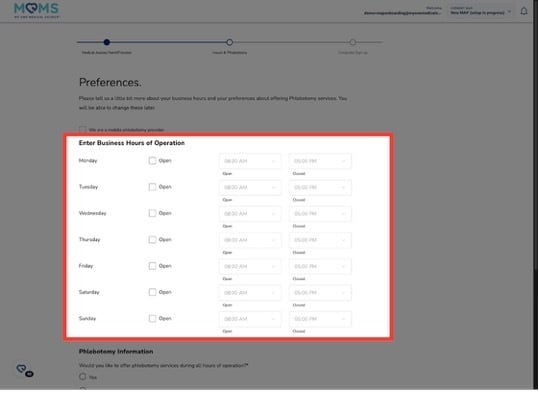
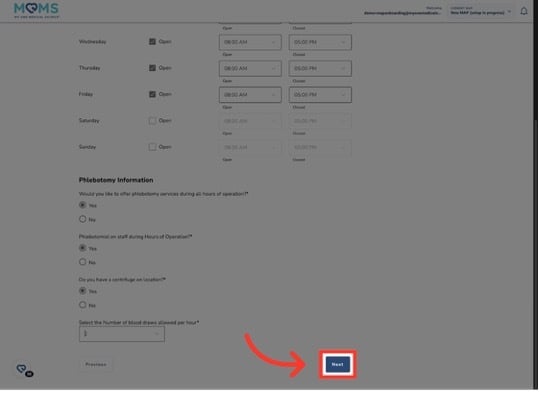
Select the days your location is open for service by clicking Open next to the respective day. You can set the hours in the fields next to each day.
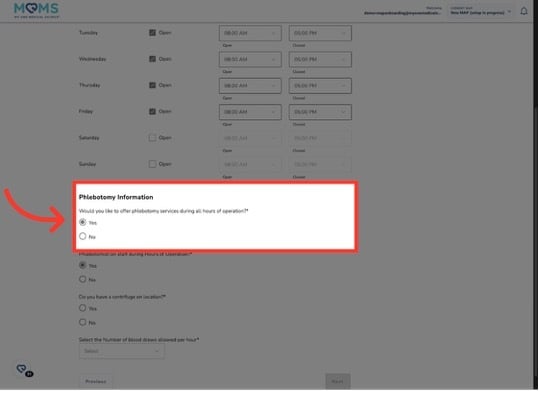
Phlebotomy Information
If you want to limit the hours that MOMS patients can schedule appointments, select "No" for the first question. You will then be able to set certain hours each day. If you would like to have MOMS patients during all hours of operation, select "Yes."
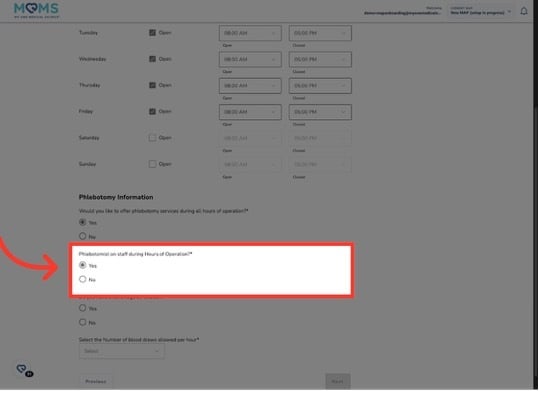
Phlebotomy Information
MOMS requires a phlebotomist to be on staff during all hours of operation. If you select "No" in this section, you will not be able to continue the onboarding process.
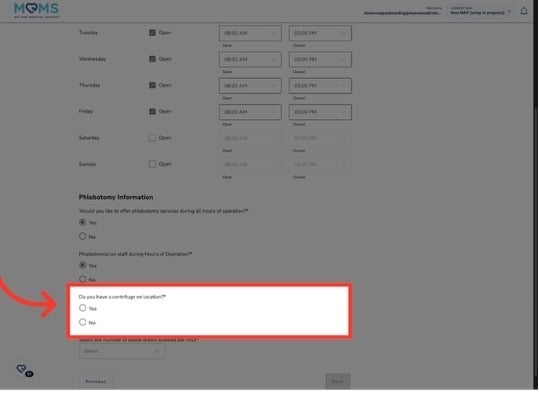
Phlebotomy Information
A centrifuge on location is required for all MAPs to be active on the platform. If marked "No" the process will pause.
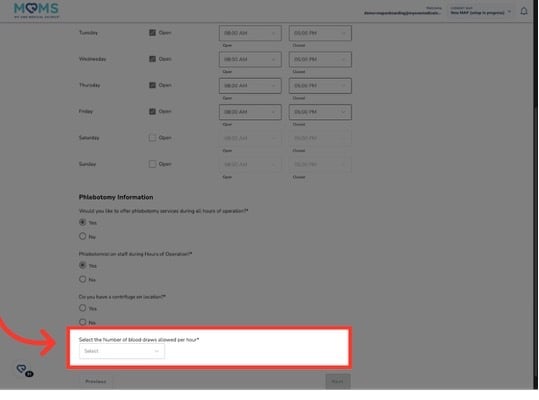
Phlebotomy Information
The number of blood draws allowed per hour determines appointment slots. Options are two, four or six. Two appointments will open appointments at the top of the hour and the half hour. Four appointments is every 15 minutes and six is every 10 minutes.
Continue to Next Page
Once all the information has been entered, click Next to continue.
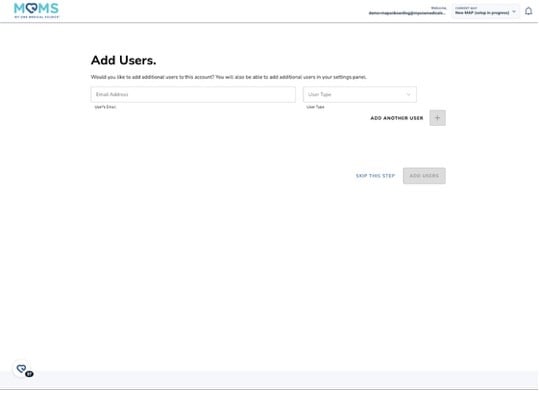
Adding Users
You can add users during onboarding to your account by entering their email and selecting the User Type here. You also have the ability to manage users at any time upon activation. If you do not want to add any users at this point, click skip this step.
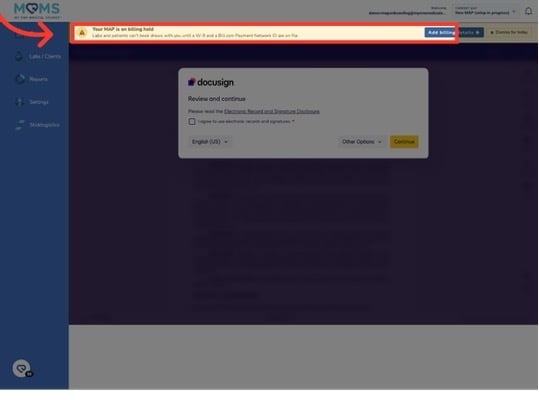
Billing Hold Disclaimer
If you did not enter billing information, such as the W-9 or Bill.com PNI, your account will have a billing hold, meaning you cannot draw for patients until we have this information. This is a requirement so we can pay you for draws performed each month.
Review DocuSign Document
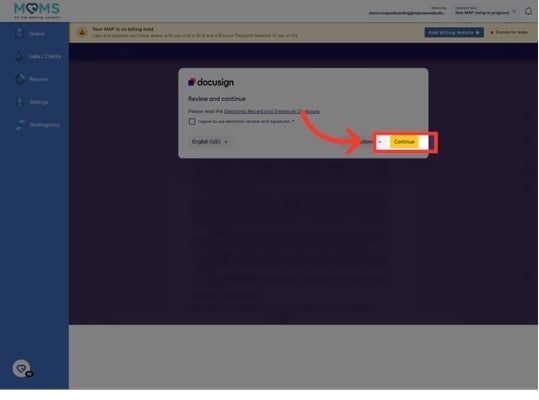
We utilize DocuSign for the execution of the Master Services Agreement and Business Associate Agreement. These agreements must be executed prior to your account being activated. Agree to use the electronic record and signatures.
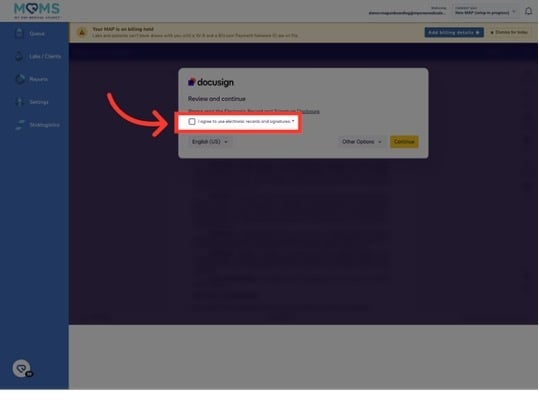
Review DocuSign Document
Click continue to review and execute the agreements.
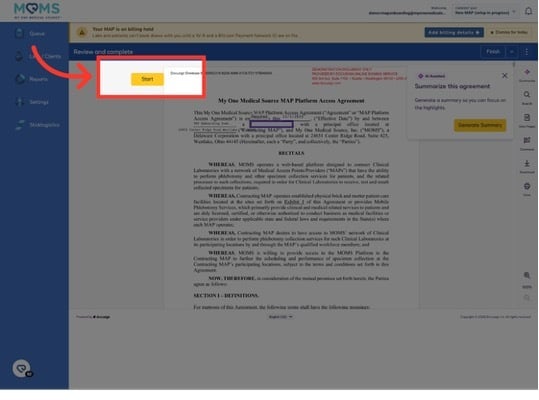
Click Start
Click Start to be directed to the required fields.
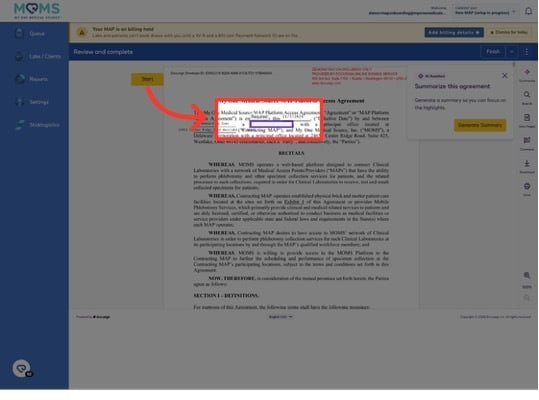
Legal Entity
The first field is the legal entity of your business. For example, a limited liability corporation or a corporation. Enter the designation here, and press continue.
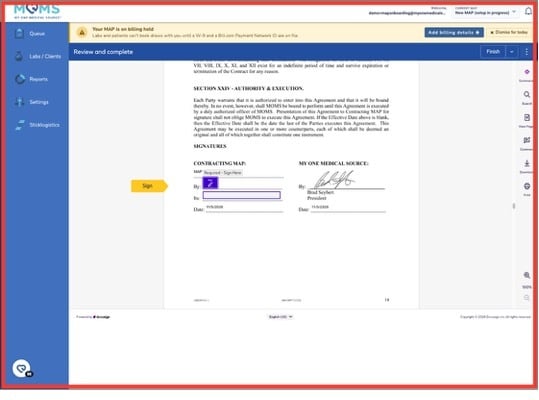
Sign Document
Click Sign to begin the signing process for the document.
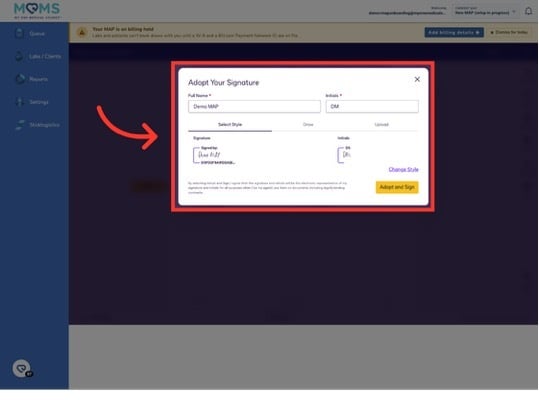
Adopt and Sign Document
Click Adopt and Sign to finalize your electronic signature on the document.
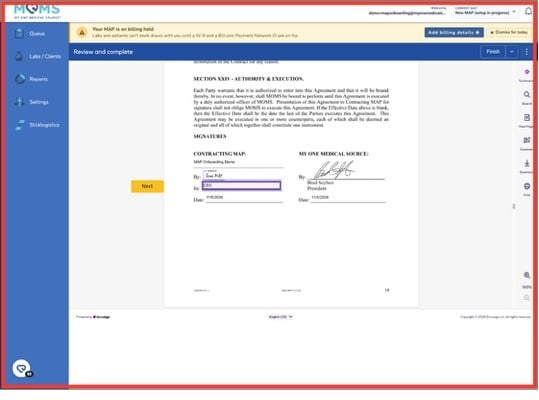
Enter Your Title
Fill in your title, such as CEO, in the designated field.
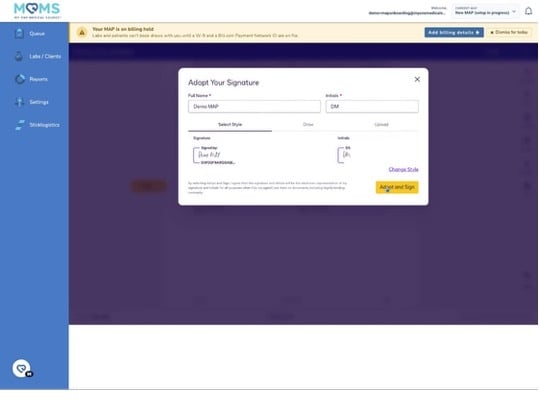
Proceed in DocuSign
Click Next in DocuSign to continue through the signing workflow to the Business Associate Agreement.
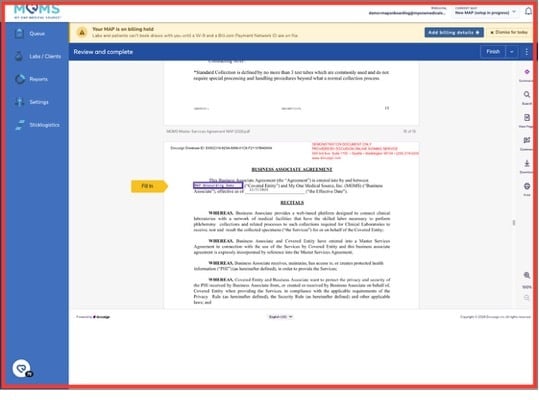
Fill Required Fields
Click Fill In to complete the required fields in the document.
Open Required Field
Open the required field to enter the necessary information.
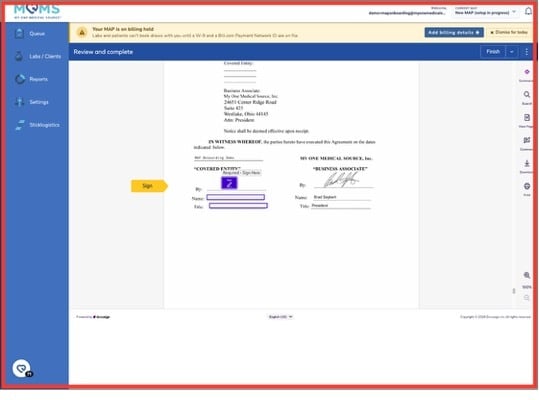
Complete Required Information
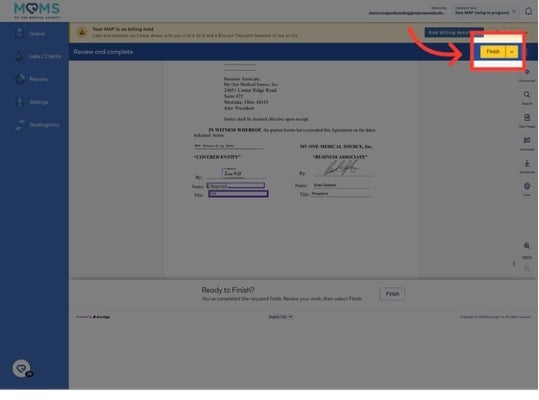
Click the required field and fill in the necessary values, including your name and title. Once complete, click finish.
MAP Account Now Active!
Once everything has been entered and the agreements have been executed, your account will be active on the MOMS platform. An account manager will be in touch with next steps, such as connecting with labs.
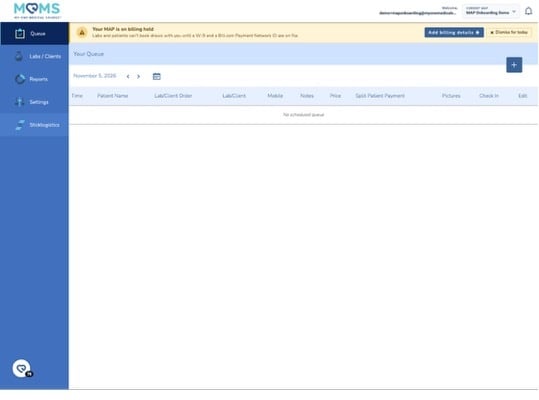
You have successfully completed the onboarding process for your MAP account on MOMS. If you have any questions, please do not hesitate to reach out at any time.